
What’s Been Cooking in My Kitchen Lately
-
![Grapefruit Margarita]()
Grapefruit Margarita
-
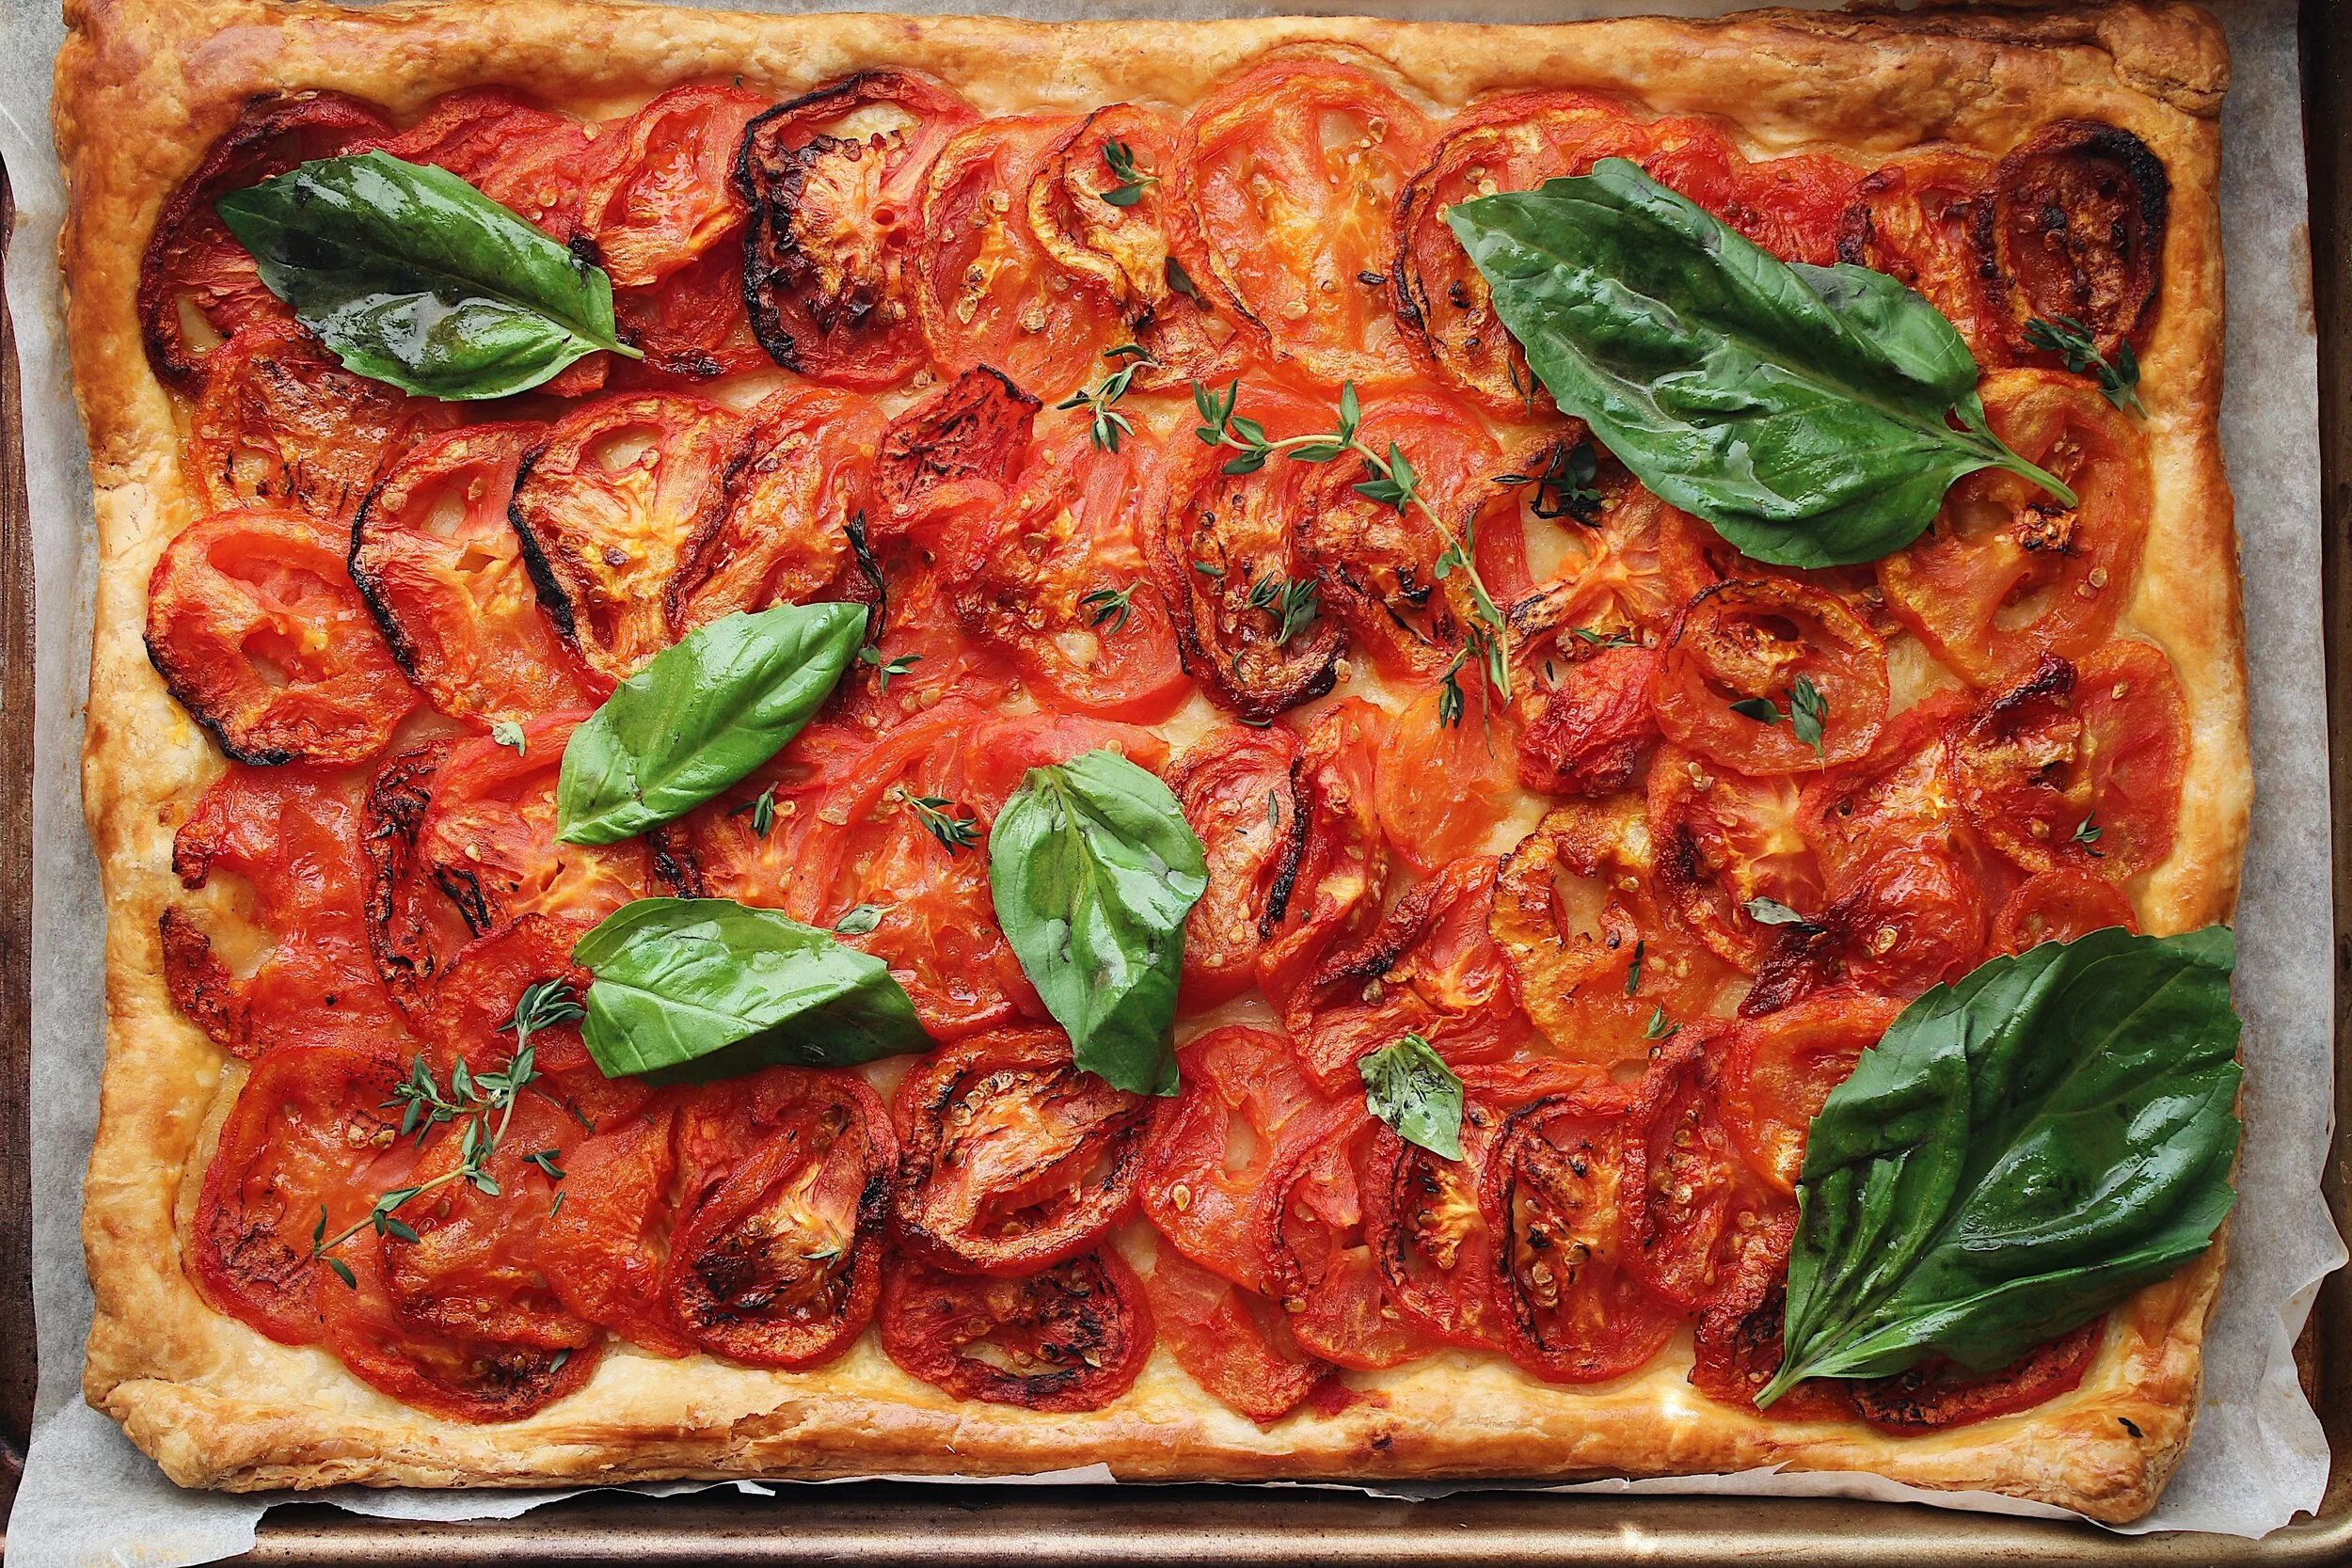
![Tomato Tart]()
Tomato Tart
-
![Watermelon Margarita]()
Watermelon Margarita
-
![Blackberry-Balsamic Roasted Pork Tenderloin]()
Blackberry-Balsamic Roasted Pork Tenderloin
-
![]()
Salmon Basil Frittata


Portuguese Recipes
•
Easy Dinners
•
Sweet Treats
•
& Everything In Between
•
Portuguese Recipes • Easy Dinners • Sweet Treats • & Everything In Between •
Portuguese Favorites
-
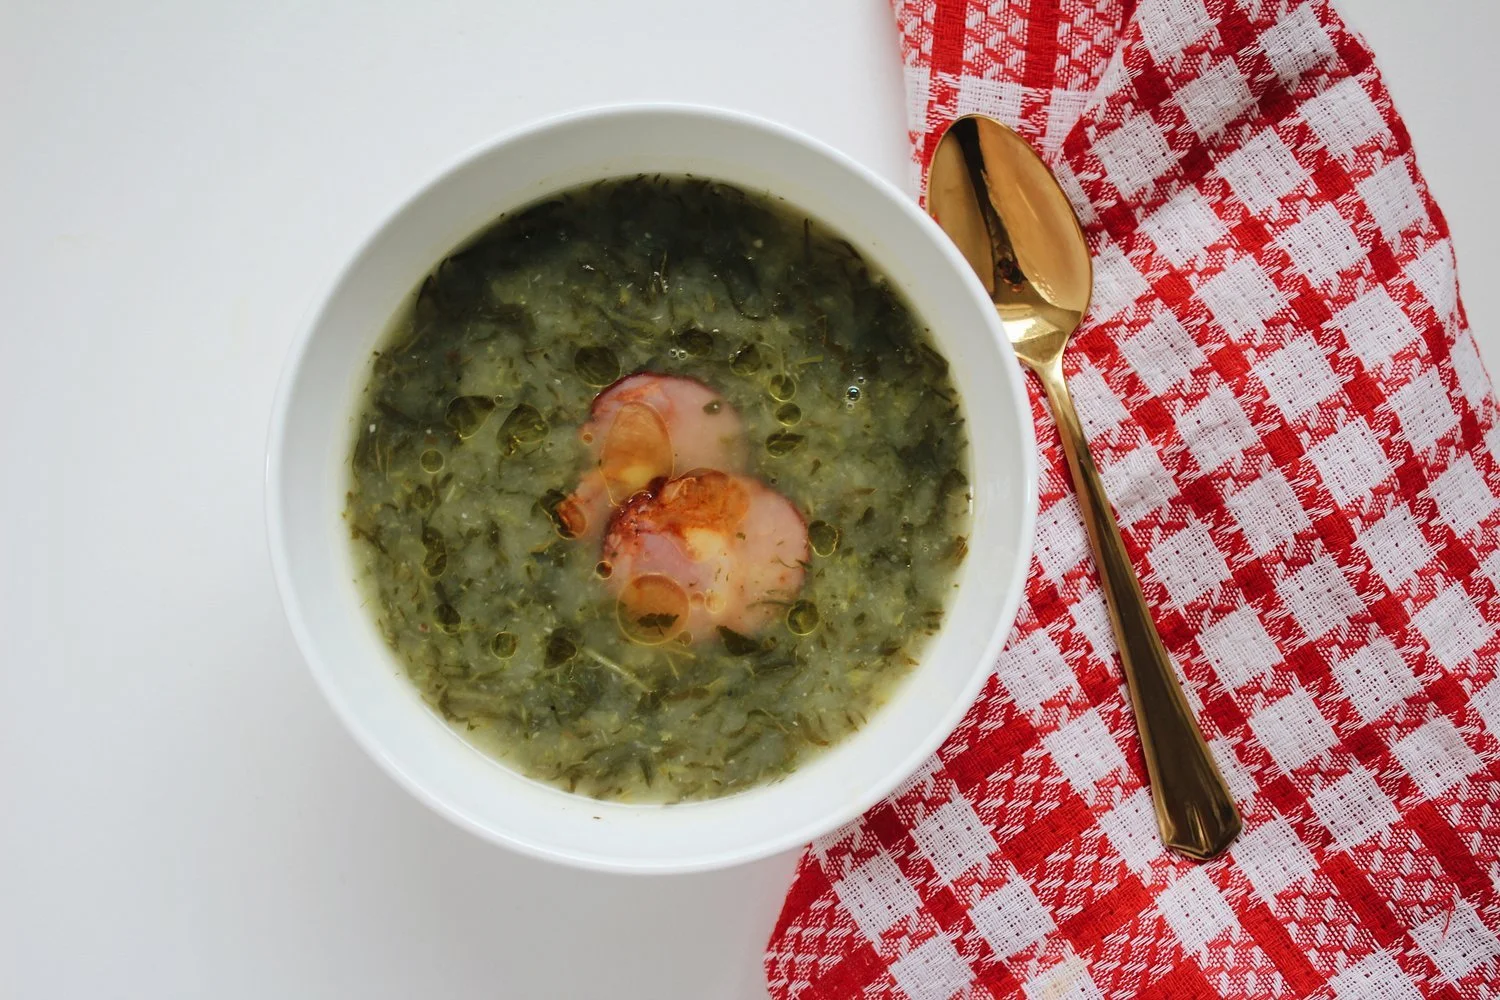
![Caldo Verde]()
Caldo Verde
-
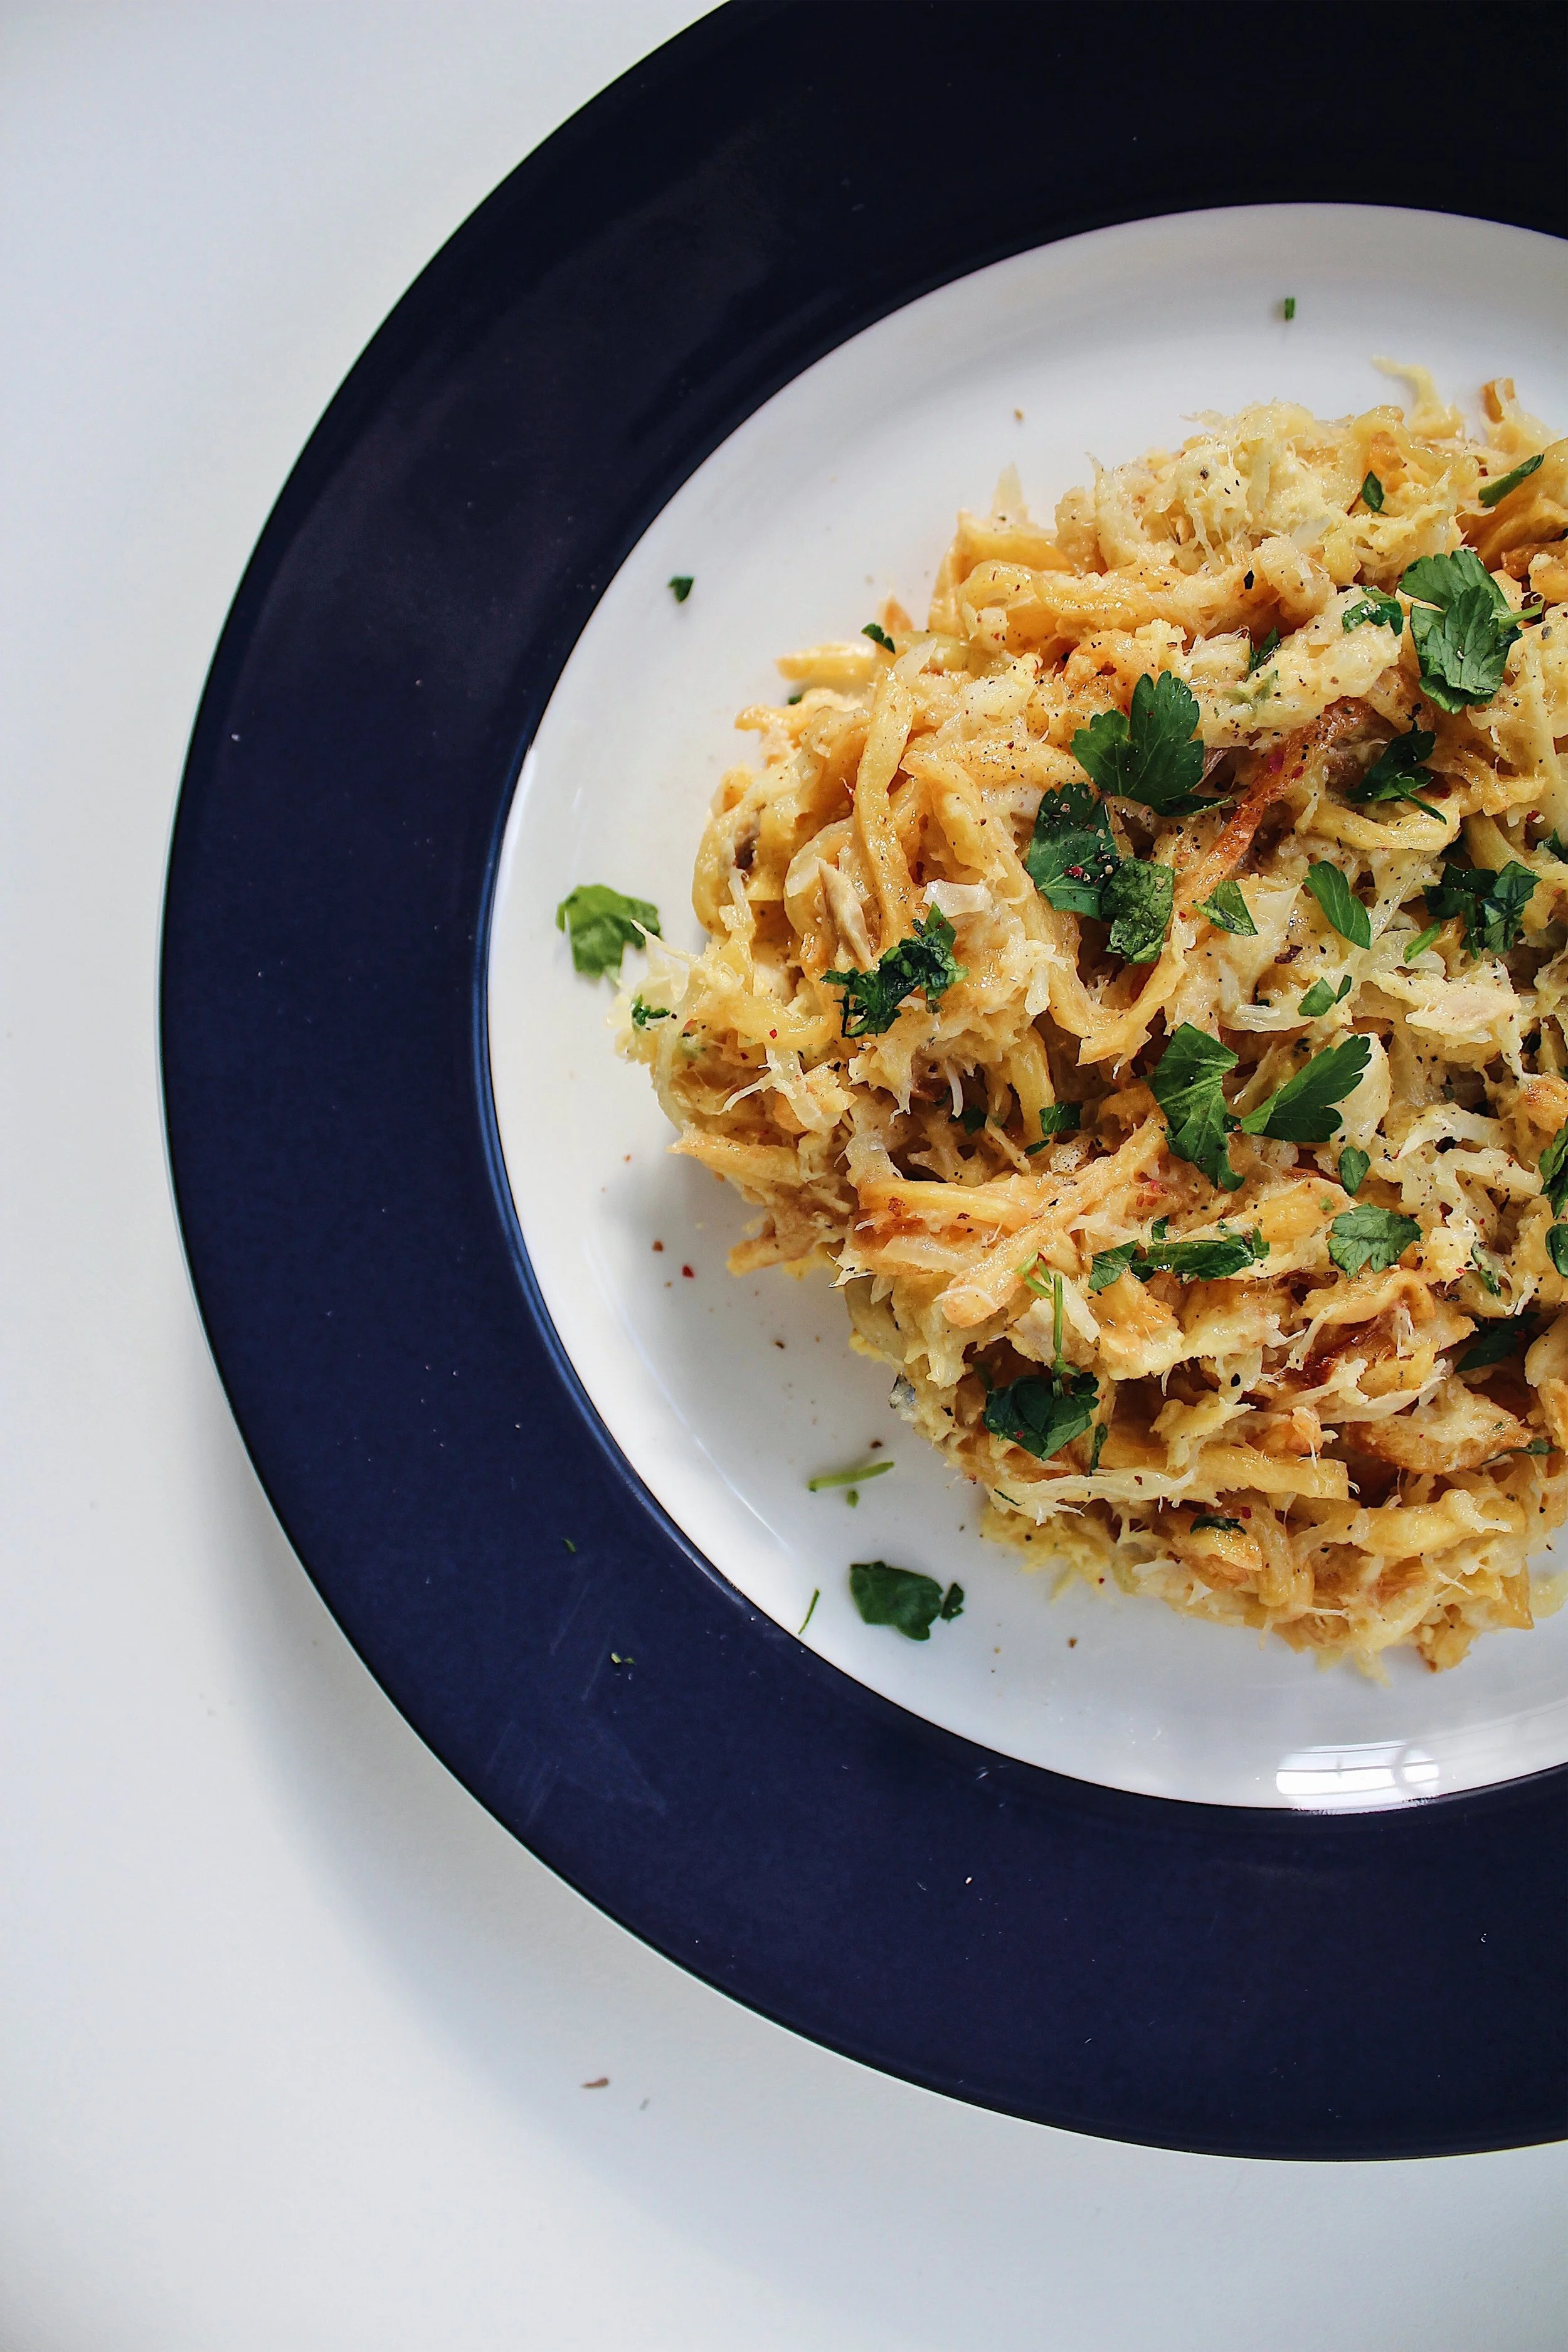
![Bacalhau à Brás]()
Bacalhau à Brás
-
![Pastéis de Bacalhau]()
Pastéis de Bacalhau
-
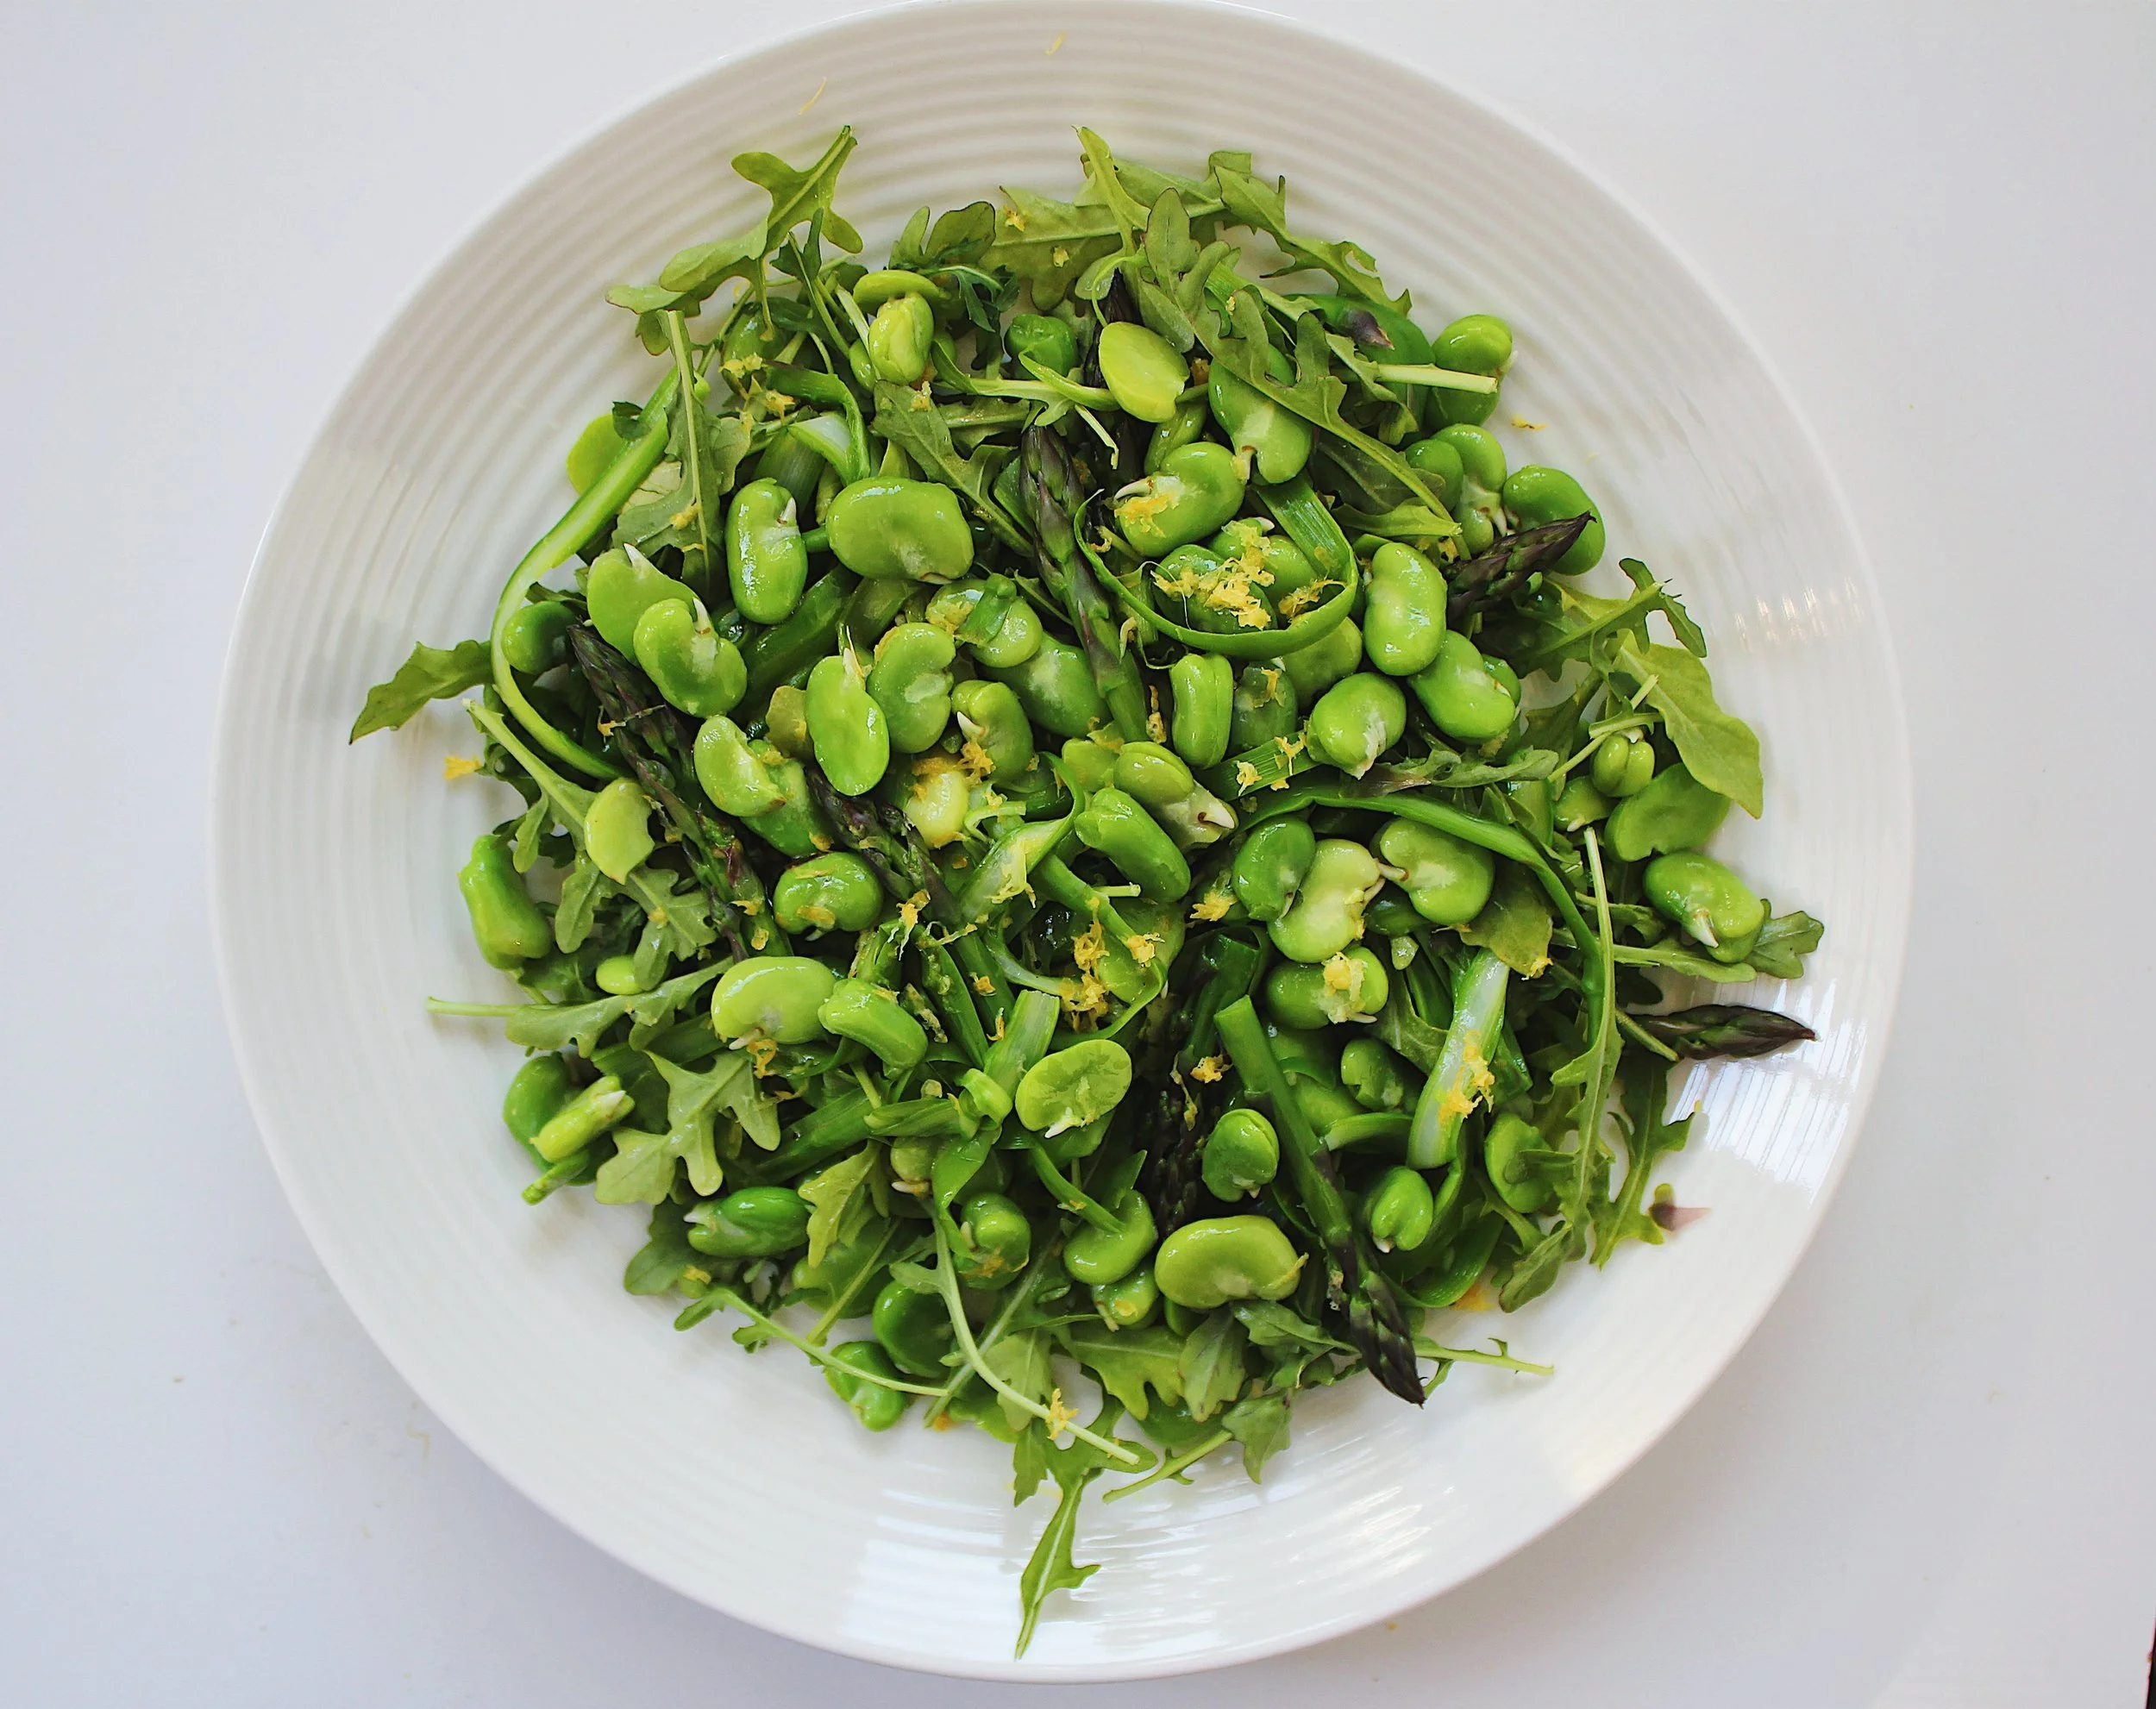
![Fava Bean Salad]()
Fava Bean Salad

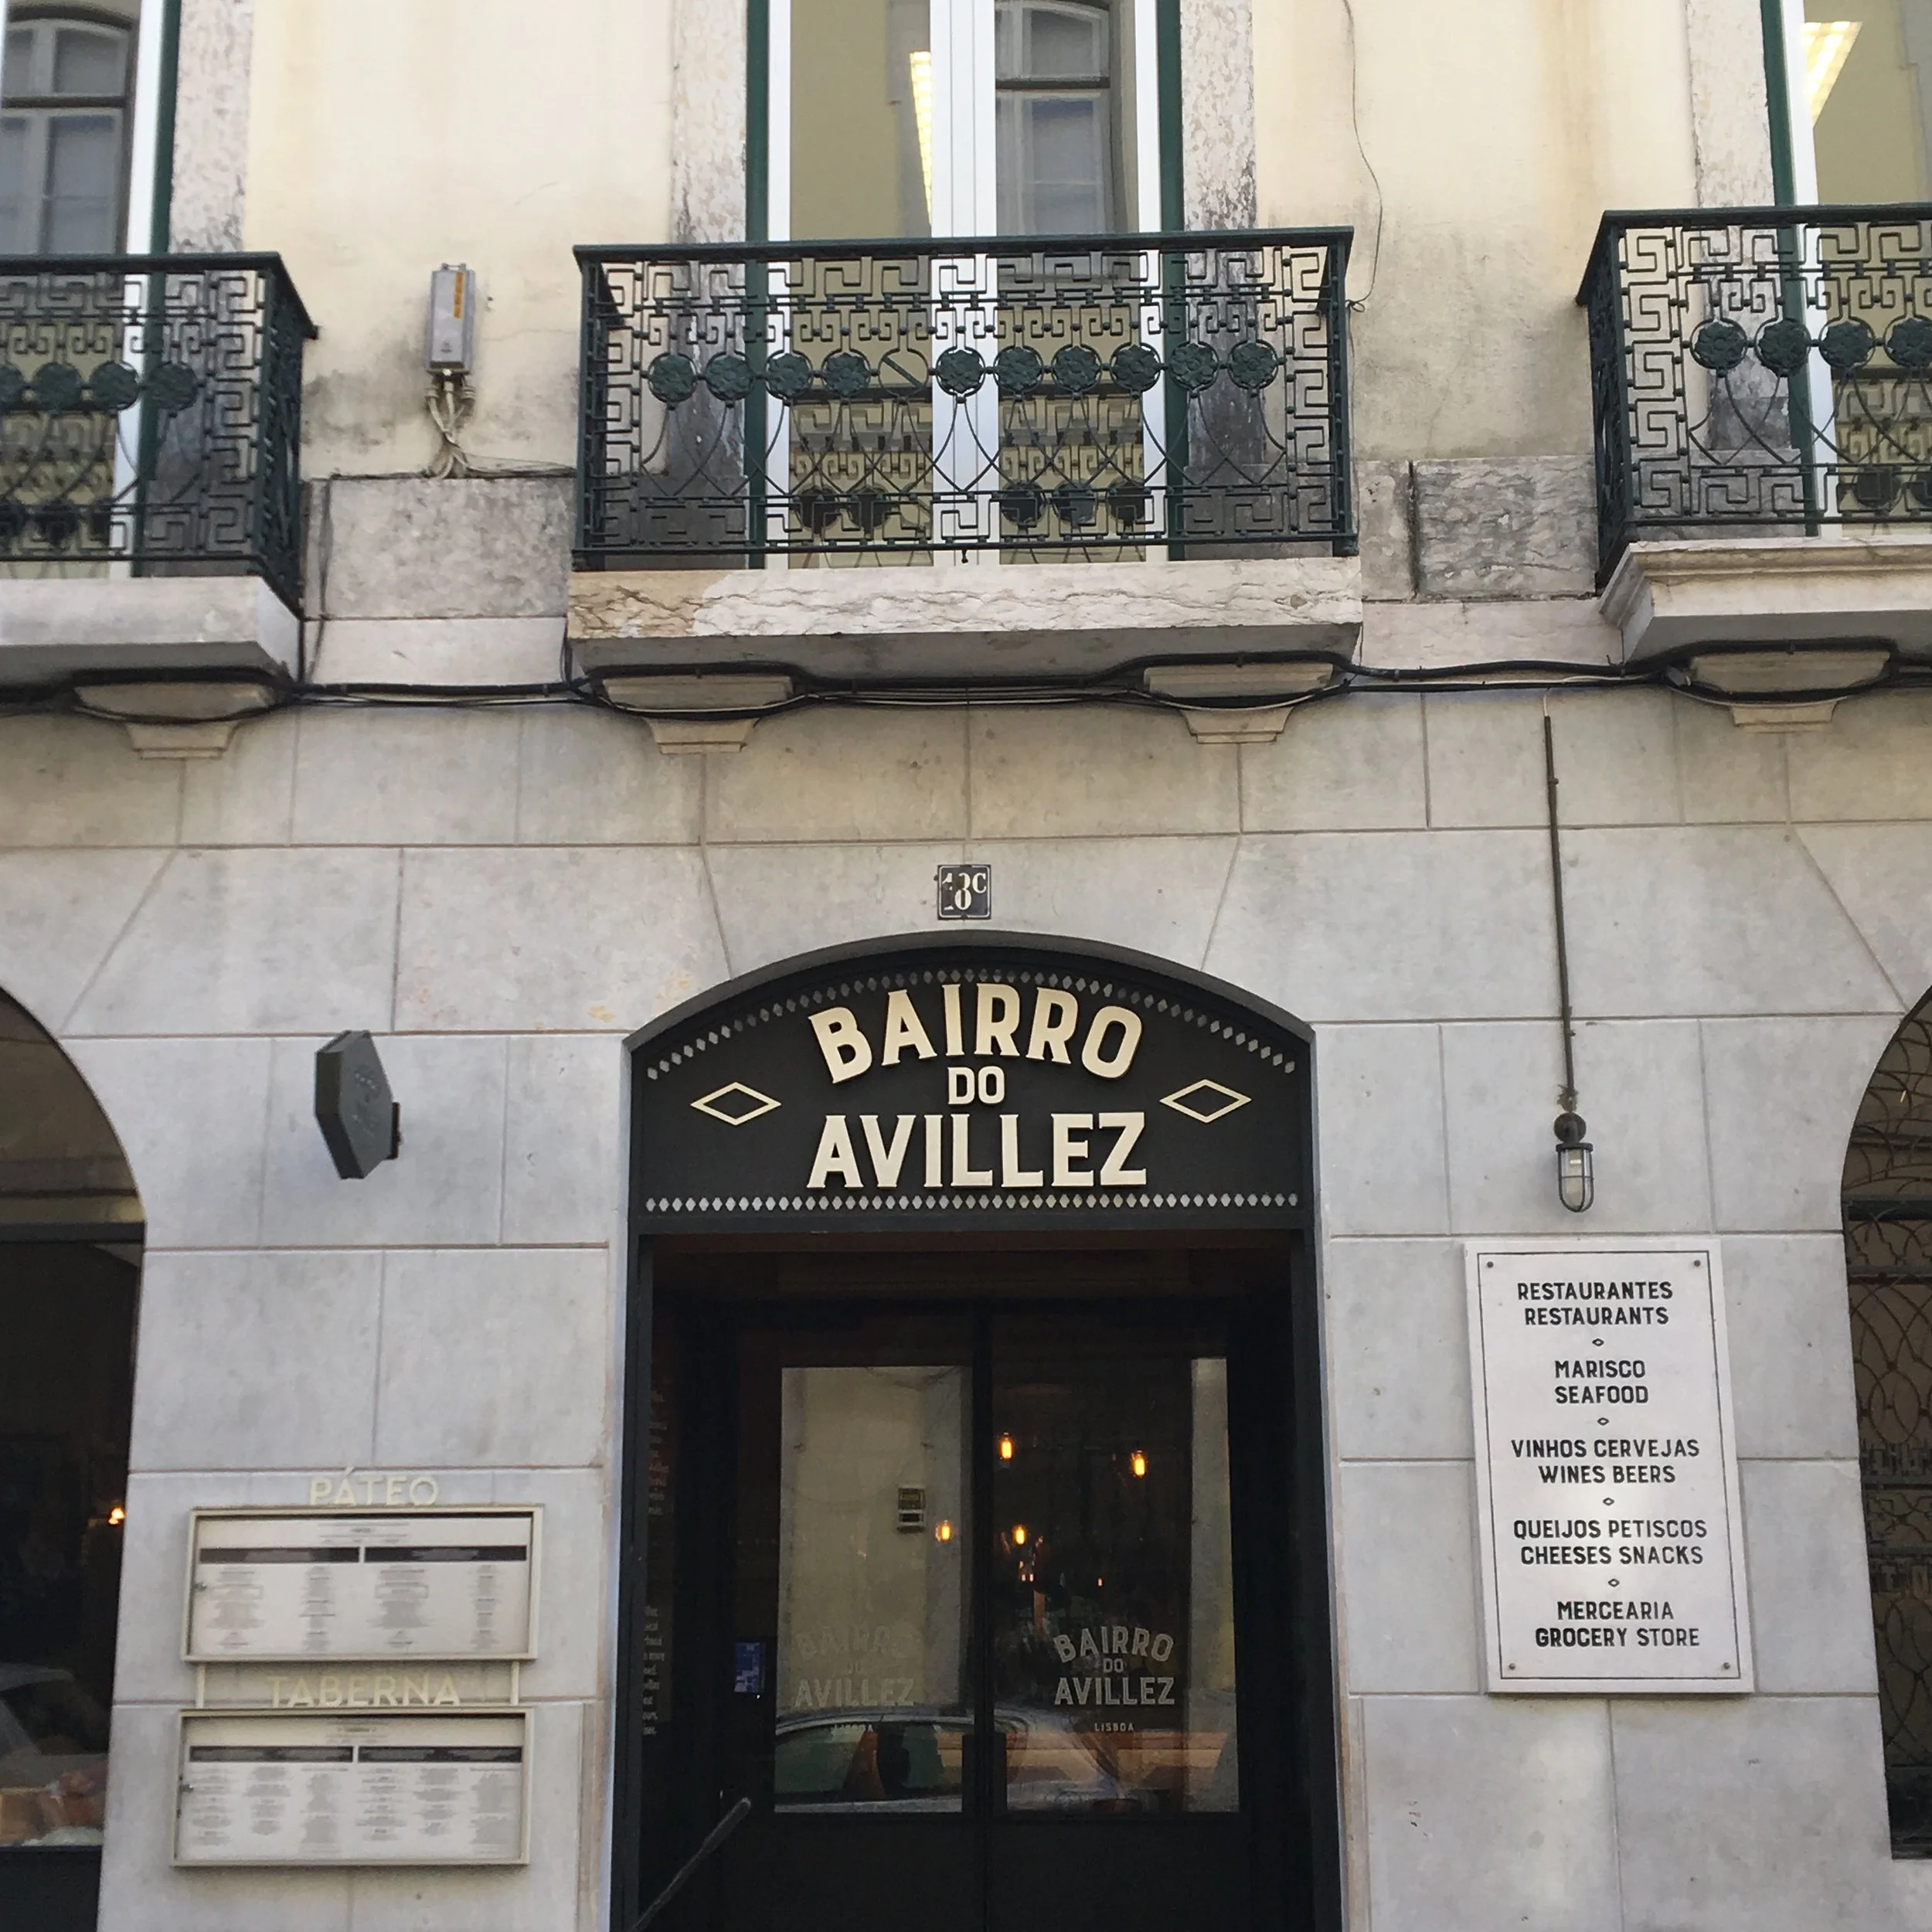
Lisbon Food Guide
From flaky pastries to sunset views, this guide covers the best breakfasts, dinners, bars, and lookouts in Lisbon.