Portuguese

Sardine And Roasted Pepper Toasts

The beauty of Portuguese cuisine lies in its simplicity. With a long coastline and a rich history of fishing, Portugal boasts an abundance of seafood. Tinned fish, or conservas, has been a staple in Portuguese households for centuries. During the 19th century, driven by the need for shelf-stable, easy-to-transport, and nutritious food during the great wars, the practice of fish preservation flourished. Advances in canning techniques and seafood products have since blossomed.

In June and July, the streets of Lisbon and towns across Portugal come alive with nightly festivities. The air fills with laughter, drinks, and delicious food as locals and tourists celebrate together. As the sun sets, the scent of grilling sardines wafts through the streets. Locals cook their sardines over open flames and serve them on white bread, which absorbs all the flavorful oils.

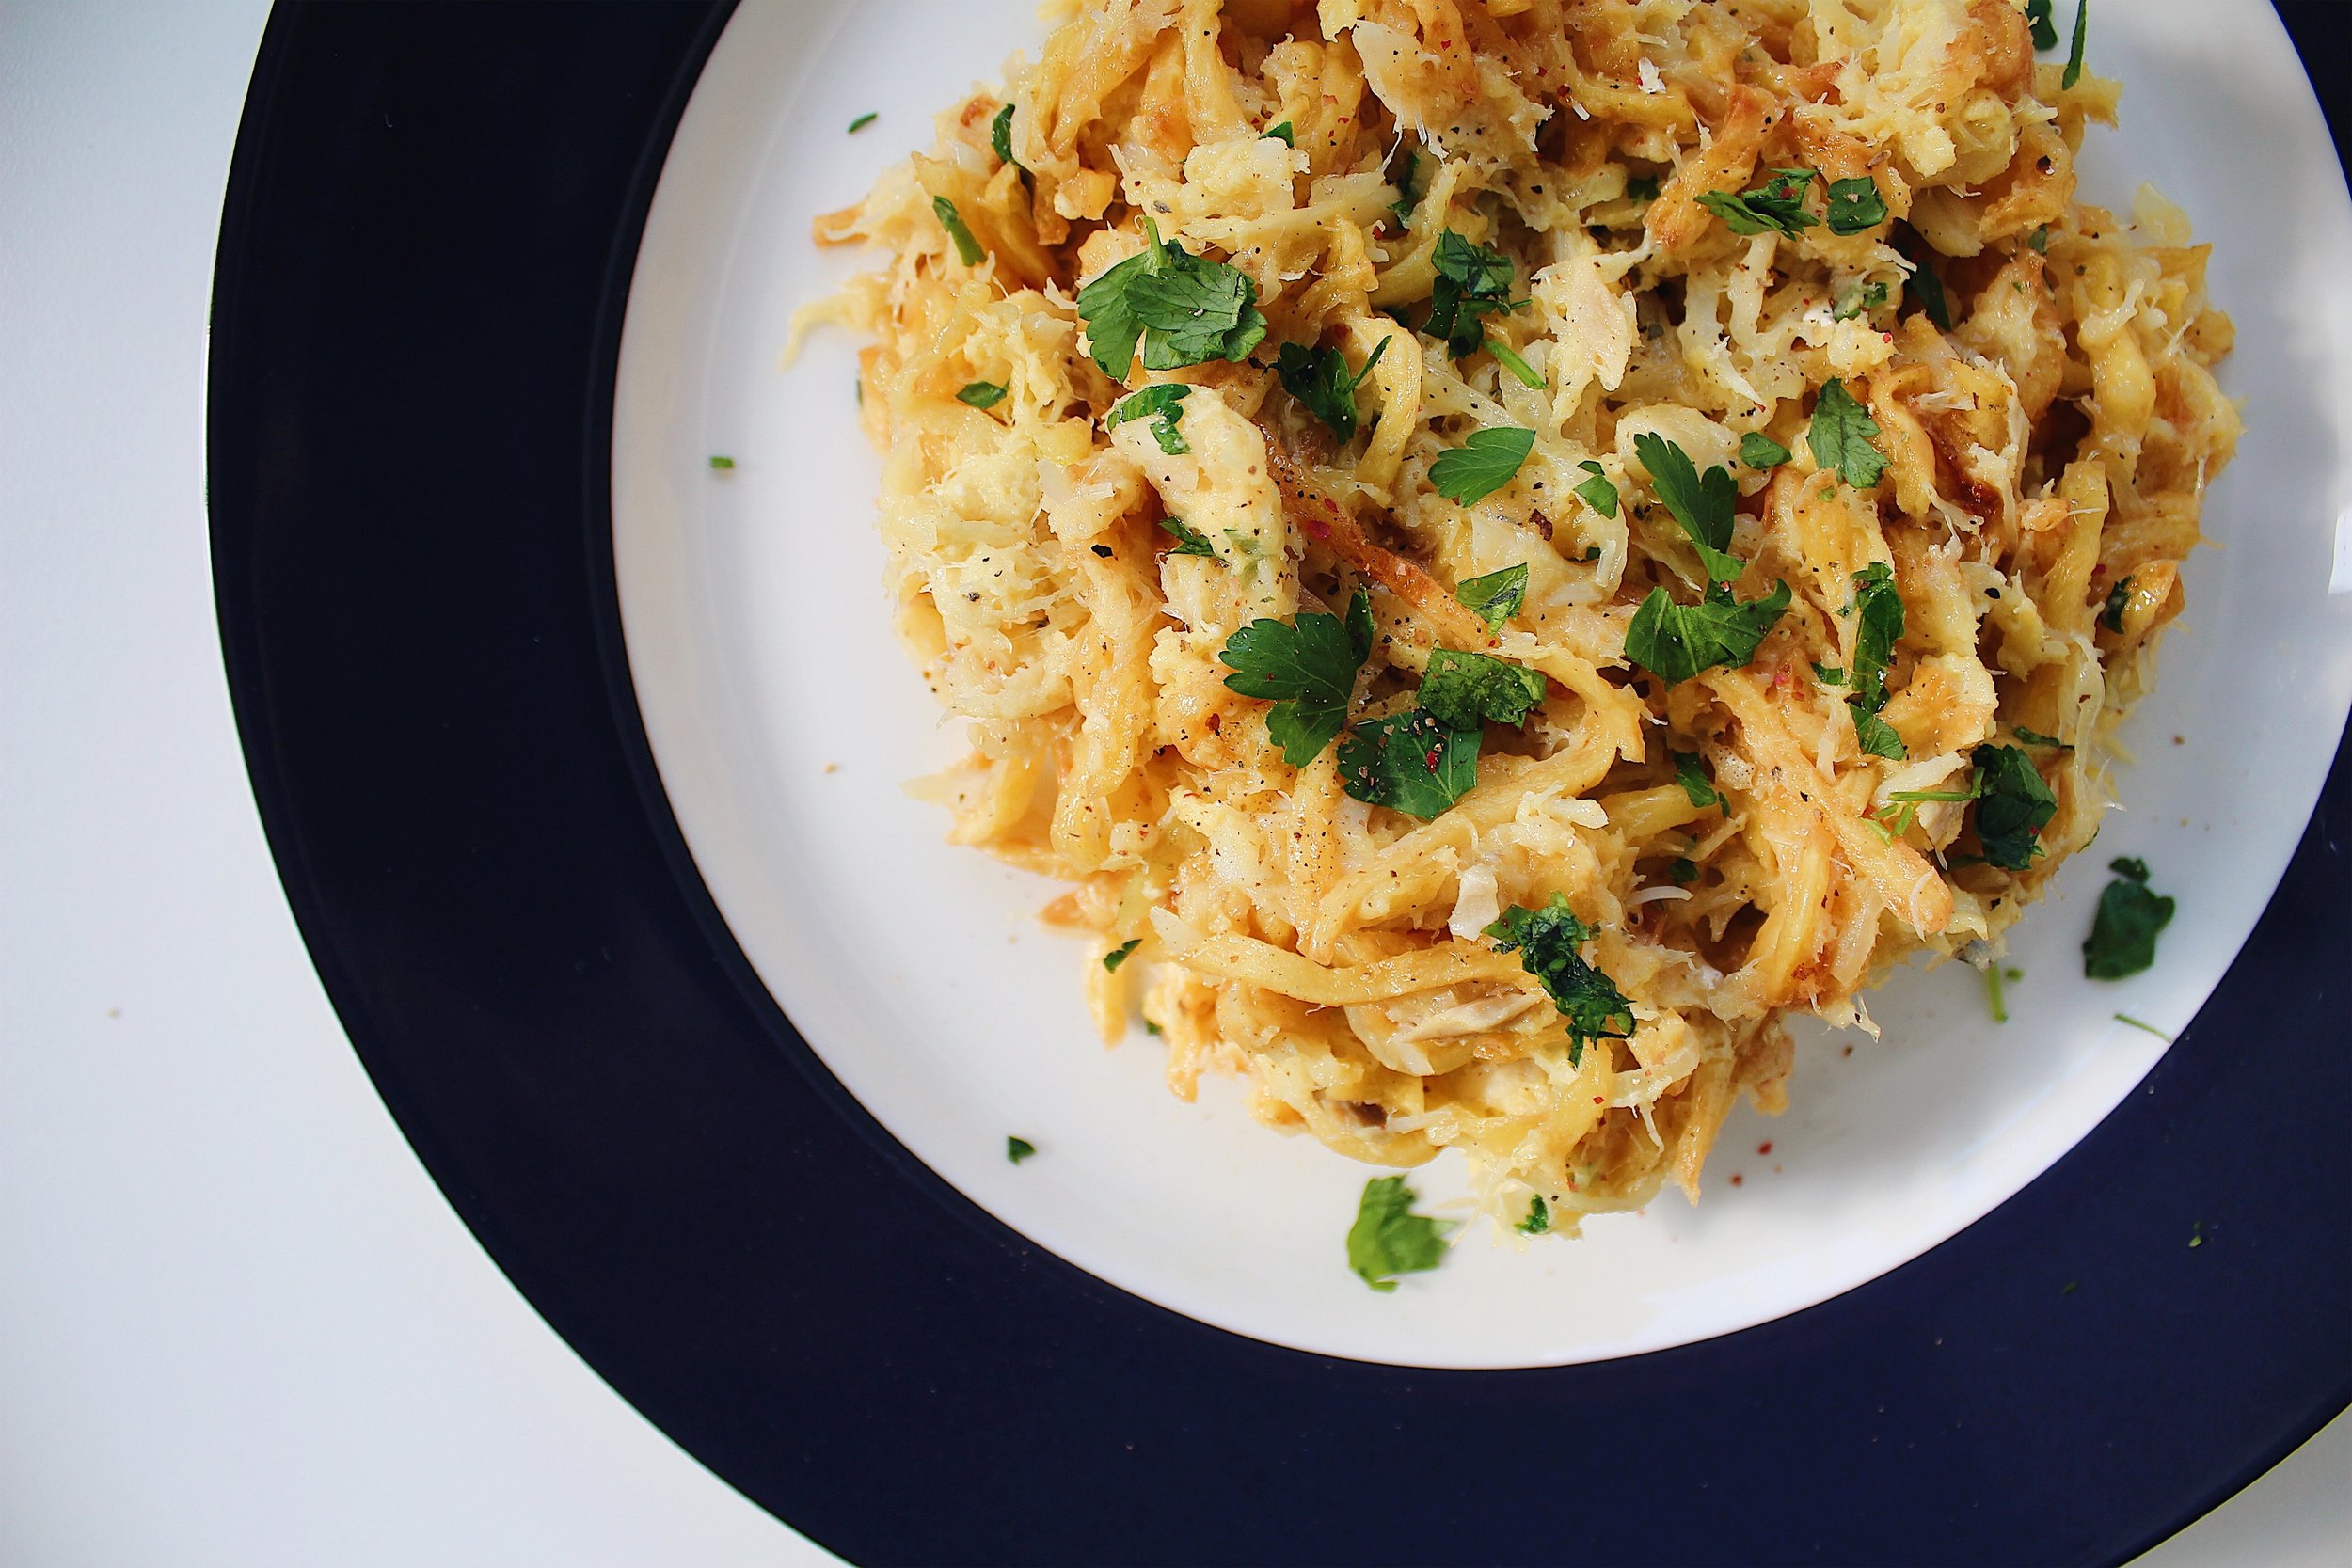
Canned sardines are a fantastic alternative to fresh ones. They’re a shelf-stable source of protein, and their small size makes the bones edible! When buying canned sardines, consider what they're packed in—water, canola oil, olive oil, or tomato sauce. For the best flavor, opt for sardines in olive oil. You can use the leftover sardine oil just like regular olive oil—mix it into a vinaigrette or drizzle it on toast.

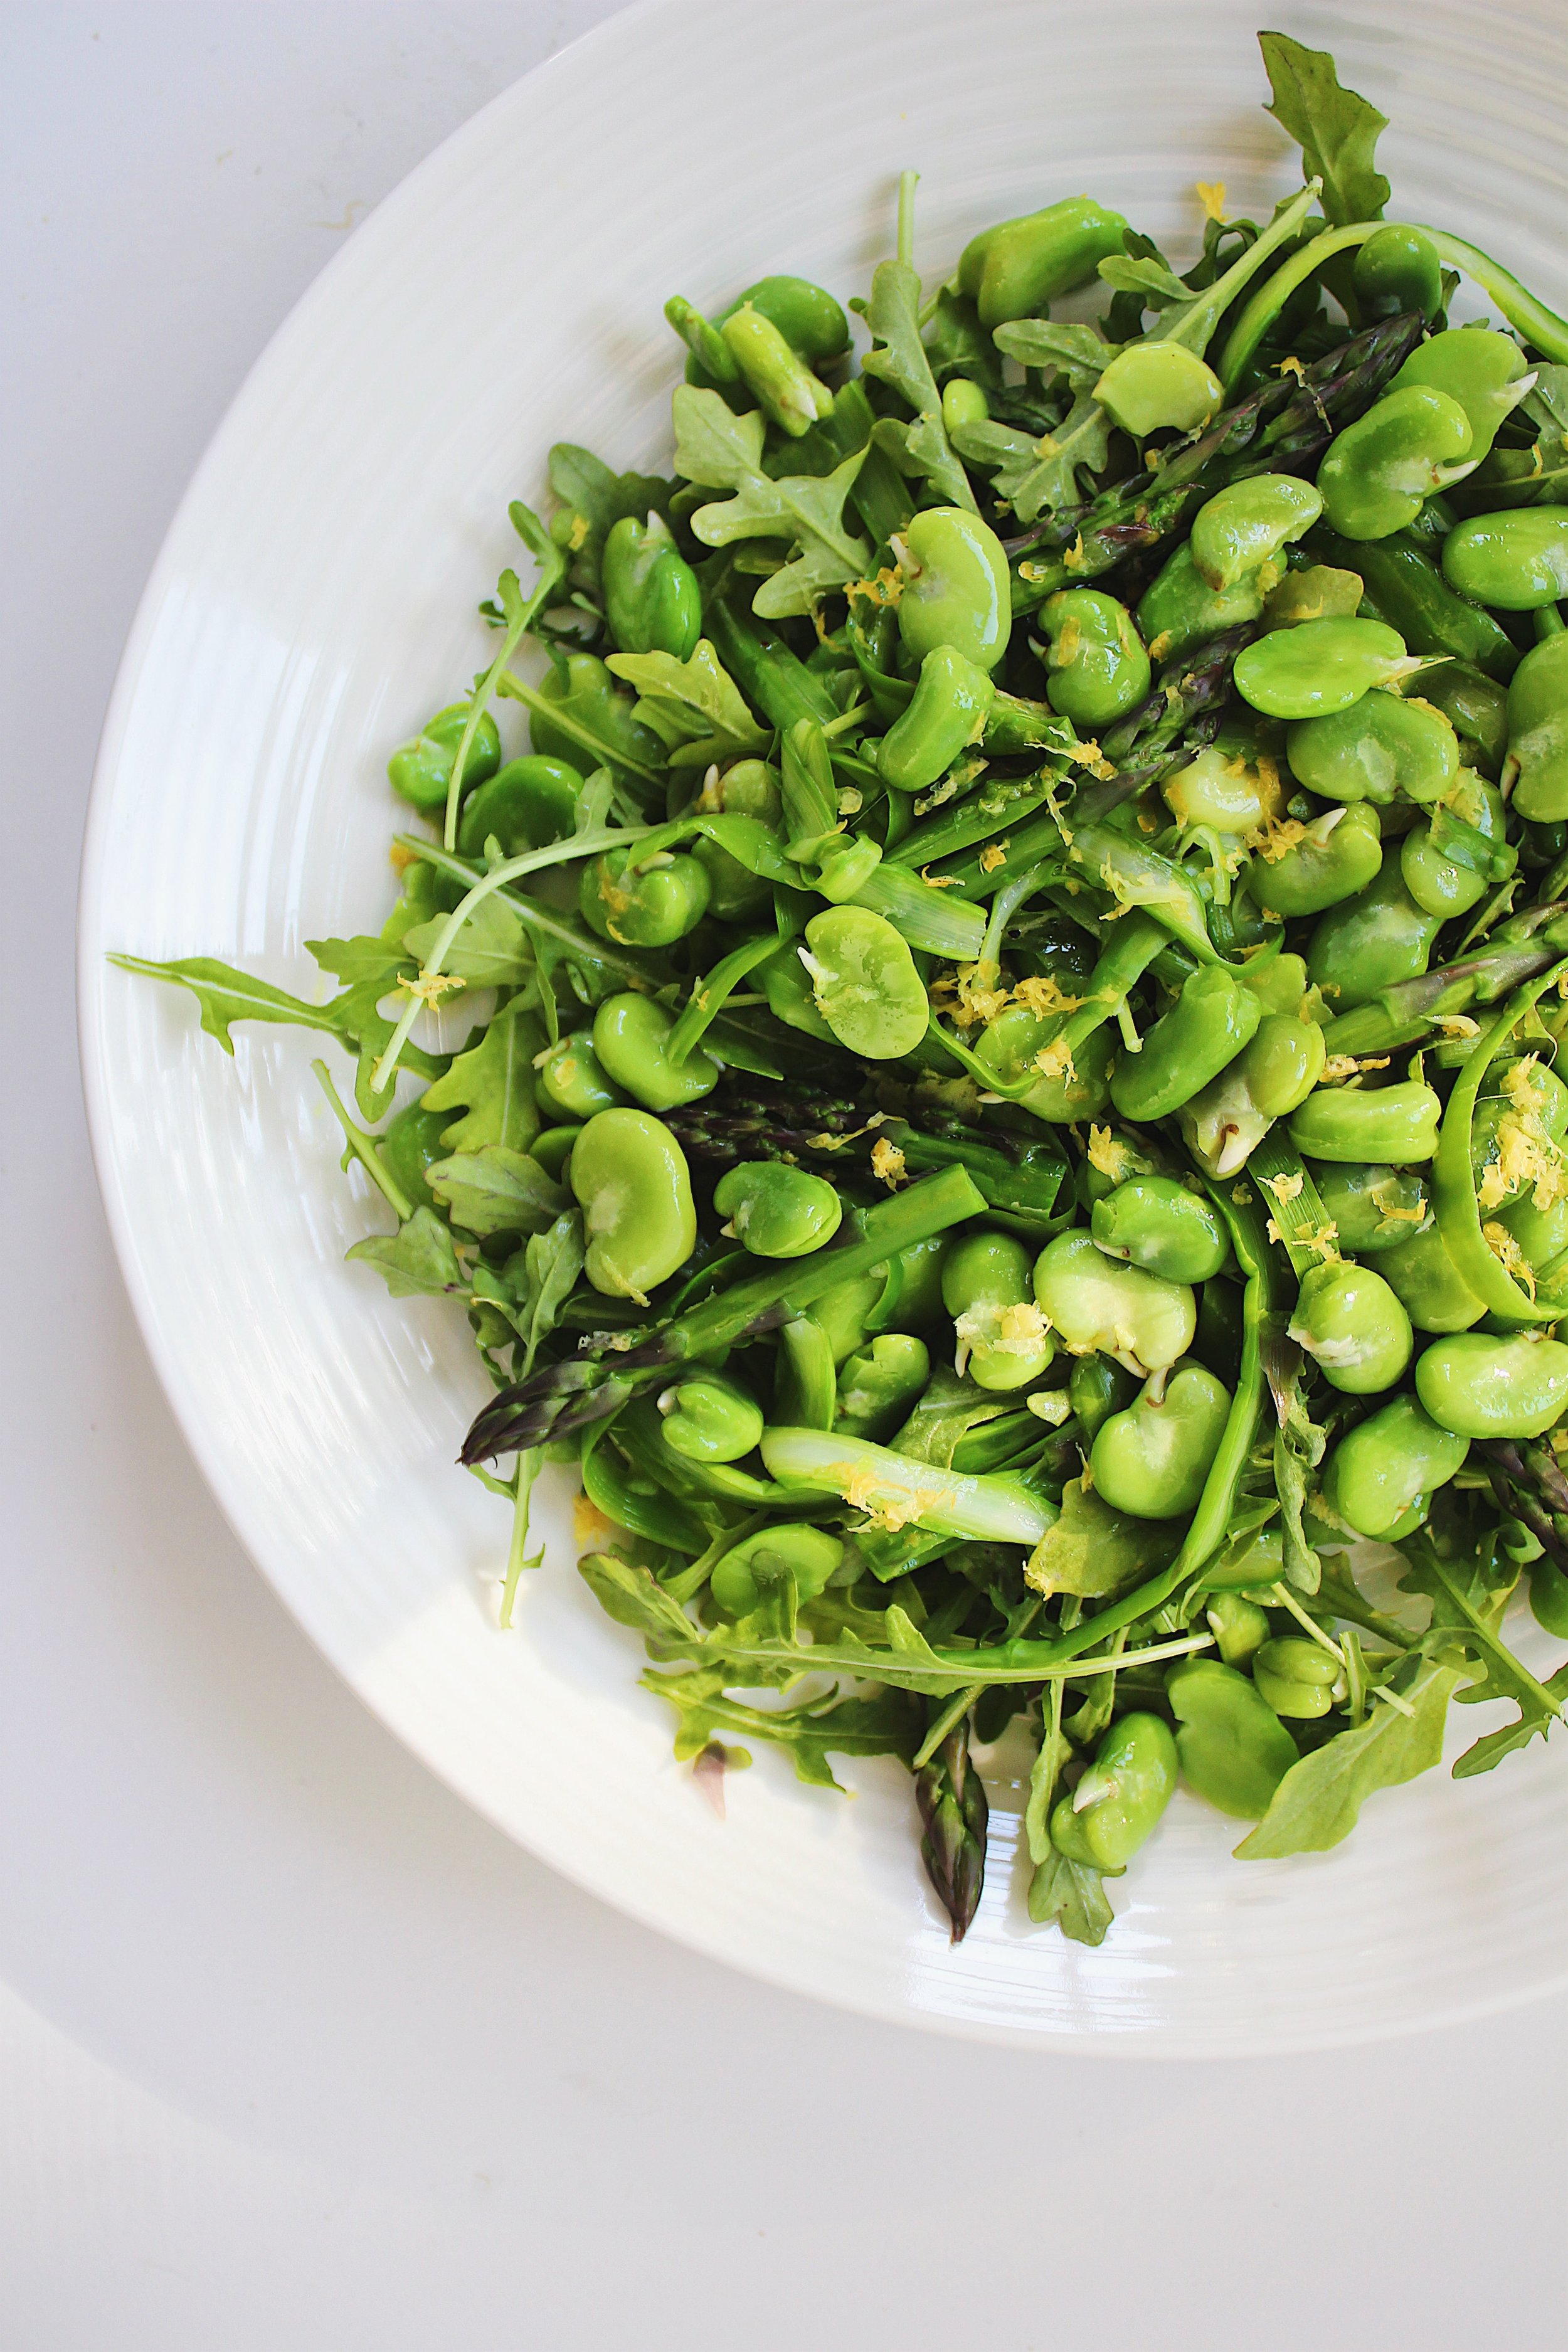
To complement sardines, grill bell peppers until completely charred, then peel, slice, and toss them in the reserved sardine oil with parsley, lemon zest, and juice. The roasted red peppers add a sweet, smoky flavor, parsley brings an herbaceous note, and lemon cuts through it all.

Pro Tip: Once your bread is golden brown, rub it with a piece of cut garlic to infuse it with delicious garlic flavor. Layer on the sardines, followed by the red pepper mixture, and top with sliced red onions for a tangy crunch. If the red onion is too pungent, soak the slices in ice-cold water for a few minutes to mellow the taste. These toasts will tantalize your taste buds and might even convert non-sardine lovers.

INGREDIENTS 

  • 1 medium red pepper

  • 1 can (4.4 ounce) Sardines in olive oil

  • 1 lemon, juiced and zested

  • 3 tablespoons finely chopped fresh parsley

  • Flaky sea salt, to taste

  • Freshly ground black pepper, to taste

  • 2 1/2-inch thick slices country bread, gluten-free if desired

  • 1 garlic clove, peeled and halved

  • 1/4 cup thinly sliced red onion

RECIPE

  1. Over a gas stove burner or grill, place red pepper over a medium-high flame to char, rotating the pepper as the sections blacken. Once the pepper has blackened completely, about 20 minutes. Place the pepper in a bowl and cover tightly with plastic wrap to steam. The steam will allow the skin to loosen.

  2. Once pepper is cool enough to touch, remove and discard the charred skin. Cut the pepper in half, and remove the seeds and membranes. Slice the pepper into ½” thick strips and set it aside.

  3. Pour half the sardine oil from the can into the bowl with the roasted peppers. Add lemon juice and zest, parsley, and season with salt and pepper to taste, stir until combined.

  4. Toast bread in a toaster or under the broiler until golden brown, then immediately, rub the cut side of the garlic all over the bread while it is still warm .

  5. Place two sardines on each toast, and top them off with the pepper mixture. Garnish with the thinly sliced red onion and a drizzle of the leftover olive oil mixture.

Cod Fritters

Pastéis de Bacalhau, also known as codfish fritters, are a beloved traditional Portuguese dish. These savory fritters are crafted from a blend of shredded codfish, mashed potatoes, onions, eggs, and parsley. The mixture is shaped into quenelles using two spoons and deep-fried until crispy and golden brown. Perfect as a snack, appetizer, or main course, Pastéis de Bacalhau pair wonderfully with a fresh salad or rice. Try these delightful fritters and savor the authentic flavors of Portugal.

INGREDIENTS 

  • 1 pound cod, soaked

  • 3 large potatoes, peeled and cut into cubes

  • 1 medium-sized onion, minced

  • 3 medium eggs

  • Parsley, chopped, for cooking and serving

  • 1/2 teaspoon nutmeg

  • Salt and pepper

  • Frying oil

RECIPE

  1. Heat up oil for frying.

  2. Boil codfish and potatoes together. Codfish will be finished first, so remove the cod and set it aside to cool while the potatoes finish cooking.

  3. Once the potatoes are cooked, drain and mash them.

  4. Once the cod is cooled, shred it with a fork or your hands, making sure to remove any bones.

  5. Combine the mashed potatoes, shredded cod, onion, and parsley together. Add the eggs one by one and mix well. Season with salt, pepper, and nutmeg, and stir one more time.

  6. Using two spoons, hold a spoon in each hand. Scoop a generous amount of the mixture into one spoon. Gently curve the second spoon towards you, pressing the bowl of the spoon against the mixture and scooping it into the second spoon as you go. Once the oval shape is formed, carefully drop it in the frying oil and let it cook until golden brown.

  7. Set aside to drain on a plate lined with paper towels.

  8. Serve right away with more chopped parsley.

Bacalhau à Brás (Cod fish with potatoes and eggs)

In honor of my Dad, I made his favorite recipe - Bacalhau à Brás, which he often cooked when I was growing up. Every bite brings me back to when I was a kid seated at the dinner table.

It’s such an easy recipe - cod mixed with onions, fries, and eggs, that’s it. If there is a recipe to make someone fall in love with cod, it has to be this one!

My Portuguese Mother // Bacalhau à Brás

Ingredients 

  • 1 pound dried salt cod

  • 1 1/2 pounds potatoes, peeled, cut into matchstick-size strips

  • 6 large eggs

  • 1 large onion, thinly sliced

  • Olive oil

  • Oil for frying

  • 1/2 bunch fresh parsley, chopped

  • Salt & black pepper

Recipe

  1. Soak the salted cod in water for 24/36 hours, changing the water 3 or 4 times – depending on the thickness of the cod

  2. Heat oil in deep heavy bottom pot

  3. When hot, add potatoes and fry until golden – you want the potatoes light golden not to crispy

  4. Remove the potatoes from oil and drain on paper towels

  5. Add the cod to a pot of boiling water. Simmer on low for about 7-10 minutes.

  6. Remove the cod pieces with a skimmer and onto a plate. Remove the skin from the cod and shred it, making sure to discard all the bones

  7. In a bowl, lightly beat the eggs with a pinch of salt and pepper, set aside

  8. In a large skillet over medium heat, add the olive oil and onion, sauté for 5 minutes while stirring

  9. Add the cod, mix and continue to cook for 5 minutes

  10. Add half of the matchstick fries and mix

  11. Add the eggs to the cod mixture and stir until the eggs are half-cooked

  12. Add half of the matchstick chips, half of parsley and stir one last time

  13. Remove immediately from heat to avoid overcooking the eggs

  14. Serve and garnish with more parsley

Lemon Garlic Chili Chicken

This summer, I added a new addition to my garden, Hot Portugal Peppers! I had never seen them before and was so excited to try it. Hot Portugal chile peppers are considered one of the easiest chili peppers to grow, as they ripen quickly. These peppers are moderate to hot and have a SHU of 5,000-30,000. 

The SHU, which is the Scoville Heat Unit, measures the heat or spiciness in foods. This pepper is similar in heat to a serrano and jalapeno peppers, which can easily be substituted in this recipe. 

What I really love about this chicken is how similar the taste is to the BBQ chicken I eat in Portugal. Classic Portuguese BBQ chicken is lightly marinated at the end with flavored oil, like Piri or lemon, this marinade has both.

 Also, the marinade has garlic and paprika, a common flavor base for many Portuguese dishes. The two differences are white wine is used more often in the place of the lemon juice, and they use regular peppers as opposed to chili peppers. 

Notes:

  • Remove the seeds from the peppers for less heat.

  • Always remember to avoid touching your face and wash your hands after handling chili peppers.

  • Substitute the Hot Portugal Peppers with Jalapeño, Cayenne or Serrano peppers.

Lemon Garlic Chili Chicken
photo9 2.jpg
Lemon Garlic Chili Chicken

Ingredients 

  • 6 - 8  bone-in, skin-on chicken thighs 

  • 1-2 lemons cut into wedges, plus the juice and zest of a ½ lemon

  • 3 cloves of garlic, roughly chopped

  • 1 hot portugal pepper, (cayenne, serano, or jalapeno pepper), thinly sliced, reserve half ( remove the seeds for less heat)

  • 2 tablespoons of paprika 

  • Olive oil

  • Salt and pepper

  • ½ cup of parsley, roughly chopped

Recipe

  1. Using a mortar and pestle, add the garlic and sprinkle with salt, mash the garlic until it becomes a paste. Add the paprika and half of sliced chili pepper, and mash again. Add the lemon juice and a few tablespoons of olive oil at a time until it creates a loose paste and all the ingredients are combined. Season to taste.

     *if you do not have a mortar or pestle, use a blender, add all the ingredients except the olive oil and blend. Pour in the oil a few tablespoons at a time, until you reach the desired texture. Season to taste.

  2. In a baking sheet, place the chicken and season with salt and pepper on both sides. Add half the marinade onto the chicken, and with clean hands, rub the marinade into the chicken. Arrange half the lemon wedges around the chicken.

  3. Arrange your oven rack to the middle and turn your broiler on to high. Place your chicken in the middle rack, and allow it to cook. Keep the door slightly opened and keep an eye on your chicken. 

  4. Once your chicken is getting golden brown, flip the chicken and cook on the other side. 

  5. 10 minutes before it's done, carefully take the tray out, turn the chicken skin side up, and allow it to brown for a couple more minutes. Once done, remove from the oven and brush the remaining marinade on the chicken. Plate the chicken and garnish with parsley, lemon zest, the remaining chili pepper slices and lemon wedges, if desired. 

Enjoy !

Fava Bean Salad

Beans, Beans... Fava, black, white, red, or soy beans, they are all good for you!

They provide minerals, soluble fiber, protein, and no saturated fat.

Pretty much every culture has their own bean dish.

From black beans served with meat and rice in South America, red baked beans on toast in the UK, to the famous French dish, Cassoulet made with pork, and white beans, every country has their bean signature dish.

Portugal is no exception. We eat a lot of beans, in stews, soups and as a side, we too are crazy for beans.

When I was growing up, I had the typical dishes like feijoada, with white or red beans, or vegetable soups made with kidney beans, but what I loved the most was when my mom made simple salads with beans.

The bite from a bean in a salad creates a different texture from what I was used in stews and soups.

In the warmer months, especially, my favorite thing to do is to add beans to my salad, not only do they add a great bite, but they help you feel fuller for longer.

My Fava Bean Salad is made with blanched fava beans, shaved asparagus, and drizzled with a light lemon & honey dressing. This bright and super easy salad is great for a quick side, appetizer, or meal!

Fava Bean Salad
Fava Beans
Fava Beans

Ingredients 

  • 3 lbs. fresh fava beans in pod

  • ½ cup thinly shaved cooked asparagus

  • A handful of small arugula

  • 1 small shallot, minced

  • ¼ cup olive oil

  • 3 tablespoons of lemon juice

  • 2 teaspoons honey

  • 1 tablespoon of lemon zest

  • Sea salt & ground pepper

Recipe

  1. Remove the beans from their pods.

  2. Bring a large saucepan with water to boil. Add the beans to the boiling water, cook for about 2-3 minutes, just to really blanch them. Meanwhile, fill a large bowl with ice water.

  3. Drain the beans, and add them to the ice water to stop cooking, then remove the skin layer from fava beans by carefully piercing the bean and squeezing it out of its skin. Discard the skins.

  4. Shave the asparagus lengthwise with a peeler.

  5. In a small bowl, add the minced shallot, lemon juice, season with salt and pepper. Whisk in the olive oil until all combined.

  6. Assemble the salad, add the arugula first, then add the fava beans, shaved asparagus.

  7. Finish with the dressing and lemon zest. Season to taste.