Grains

Whole Wheat Banana Coconut Waffles

WW Banana Coconut Waffles

Quarantine breakfast has definitely been more elaborate than usual. Pancakes and Waffles aren't just for the weekend, and I am totally OK with that! 

These waffles were a result of an excess of overripe bananas, which I am sure we all have had plenty of during our time home. 

They are also healthy-ish, being made with whole wheat flour, coconut oil, and nut milk. They are topped with slices of bananas, toasted coconut flakes, and walnuts for added texture and flavor! 

Substitutions for the listed ingredients :

  • Whole wheat flour - All-purpose flour

  • Coconut Oil - Canola Oil

  • Almond milk - Any nut milk / regular milk

  • Walnuts - your preference of nuts or leave it out

Whole Wheat Banana Coconut Waffles

Ingredients 

Waffles

  • 1 ½ cup whole wheat flour (or all-purpose flour)

  • 2 tablespoons sugar 

  • 2 teaspoons baking powder

  • ½ teaspoon salt

  • ½ teaspoon ground cinnamon 

  • ⅓ cup coconut oil, melted 

  • ¾ cup almond milk (or your choice of nut milk)

  • 2-3 medium sized bananas, mashed 

  • ¾ cup chopped walnuts (or your favorite nut) *optional 

Toppings

  • Maple Syrup

  • Chopped nuts

  • Toasted coconut flakes

  • Slices of banana

Recipe

  1. Preheat waffle iron according to manufacturer's instructions. 

  2. In a large bowl, whisk the flour, sugar, baking powder, salt, cinnamon together.

  3. In a small bowl whisk the melted coconut oil, and almond milk together. Pour the wet ingredients into the dry and whisk to combine. 

  4. Add the mashed bananas and nuts, if using, and whisk until just combined. 

  5. Grease the waffle iron and pour the prepared batter into the waffle iron. Cook until crispy, and golden brown. 

  6. Serve with maple syrup, and additional toppings. 

* Waffles can be frozen up to 3 months. Allow them to cool completely, then transfer them to an airtight plastic bag and place them in the freezer.  To thaw, preheat a toaster oven, or a traditional oven and heat them until crispy.

Macaroni & Cheese

What is more comforting than a bowl of warm mac & cheese! NOTHING.

This recipe is perfect for a weeknight meal because of how simple it is to make, and also, it can easily be doubled for any holiday like Thanksgiving or just a family dinner.

Before jumping straight to the recipe, let's breakdown the important qualities to the perfect mac & cheese.

  1. Pasta - Look for a pasta with a lot of nooks and crannies. I love to use cavatappi, but other popular shapes are elbow pasta, shells, or pipette.

  2. At least 2 Cheeses - When it comes to choosing your cheese, remember to use at least 2 in your recipe, 1 sharp, and 1 creamy. Using at least two will give your mac and cheese creaminess while the other will give a flavor punch. My favorite cheeses to use are Gruyere and Cheddar! But any mix of sharp and creamy cheese will do like these:

    • Sharp Cheese - Parmesan, Pecorino, aged Asiago,

    • Creamy Cheese - Gouda, Monterey Jack, and Fontina, cream cheese

  3. Grate your cheese! - Picking up pre-shredded bag and cheese is tempting; however, I urge you to think twice! The pre-shredded cheese bags have stabilizers and anti-caking agents, lessen the flavor of the cheese, and it won't melt properly. BUT, if you are tight on time, I advise you to pick only one pre-shredded cheese!

  4. Spices - this recipe has mustard powder and a pinch of cayenne pepper. Adding a pinch of spice really makes all the difference! The mustard goes really well with the cheese, and the pepper just adds that extra kick.

photo1 2.jpg
photo2 2.jpg
photo12.jpg
photo11.jpg
photo3 2.jpg

Ingredients

  • 4 tablespoons unsalted butter, plus more for baking dish

  • ¾ cup panko (Japanese breadcrumbs)

  • ¼ cup Parmesan, finely grated 

  • 2 teaspoons fresh sage leaves

  • 1 teaspoon kosher salt, divided, plus more

  • 8 oz. cavatappi 

  • 2 ½ cups whole milk

  • 2 shallot, grated

  • 1 garlic clove, finely grated

  • 2 tablespoons all-purpose flour

  • 4 oz. Gruyère, grated 

  • 8 oz. mild white cheddar, grated 

  • ½ teaspoon English mustard powder

  • Pinch of cayenne pepper

Recipe

  1. Preheat oven to 350°. Butter a 2 qt. Baking dish. 

  2. Melt 2 Tbsp. butter in a medium skillet over medium heat. Add panko and cook, stirring, until crumbs are golden brown, 6–8 minutes. Transfer to a small bowl and toss with Parmesan, thyme leaves, and ¼ tsp. salt.

  3. Cook pasta in a large pot of boiling salted water, stirring occasionally, until al dente (the noodles will continue to cook in the cheese sauce, so take them out a minute or two before you think they’re actually done). Drain pasta; let cool while you make the sauce.

  4. Bring milk to a bare simmer in a small saucepan; keep warm. Melt remaining 2 Tbsp. butter in a medium saucepan over medium-high. Add onion and garlic and cook, stirring, until onions are fragrant and beginning to soften, about 2 minutes. Sprinkle flour over and cook, stirring constantly, until mixture starts to stick to bottom of saucepan, about 1 minute. Add warm milk in a few additions, whisking to combine after each addition.

  5. Bring béchamel sauce to a boil, then reduce heat and simmer, stirring, until sauce is thickened and doesn’t feel grainy when a little bit is rubbed between your fingers, 6–8 minutes.  Add the grated cheese, mustard powder, cayenne, and ¾ tsp. salt and stir until cheeses are melted and sauce is smooth. Remove from heat and mix in pasta; transfer to the buttered baking dish.

  6. Bake 10 minutes. Top with Parmesan breadcrumbs and bake until sauce is bubbling around the edges, 8–10 minutes longer. Let cool in pan 15 minutes before serving.


Adapted from Bon Appetit

Coconut Granola

Coconut Granola

Happy New Year!

Getting back into a routine after the holidays, or in my case after a trip is always difficult. This year, I spent NYE in Portugal, so my new year resolutions got slightly pushed back!

Now that I am officially back and in cooking mode, I am dedicating this month to healthy recipes and whole foods. Being Portuguese, I was raised eating a Mediterranean diet which if you haven’t heard is 2019 diet of the year!

So kicking off, I whipped up this quick granola recipe that can be enjoyed for breakfast or as a snack! This 8 ingredient granola could not be easier to make! Packed with nuts, chia seeds and big chunks of coconut, this recipe is also easily adaptable for your preferred flavors.

Once you try out this recipe and see how easy it is to make, you will never go back to store bought granola again!

Braised Lamb Shanks & Creamy Polenta

First snowfall of the season and boy did it take us by surprise in New Jersey! 

There is probably nothing that I enjoy about the winter other than the excuse to stay in and cook! 

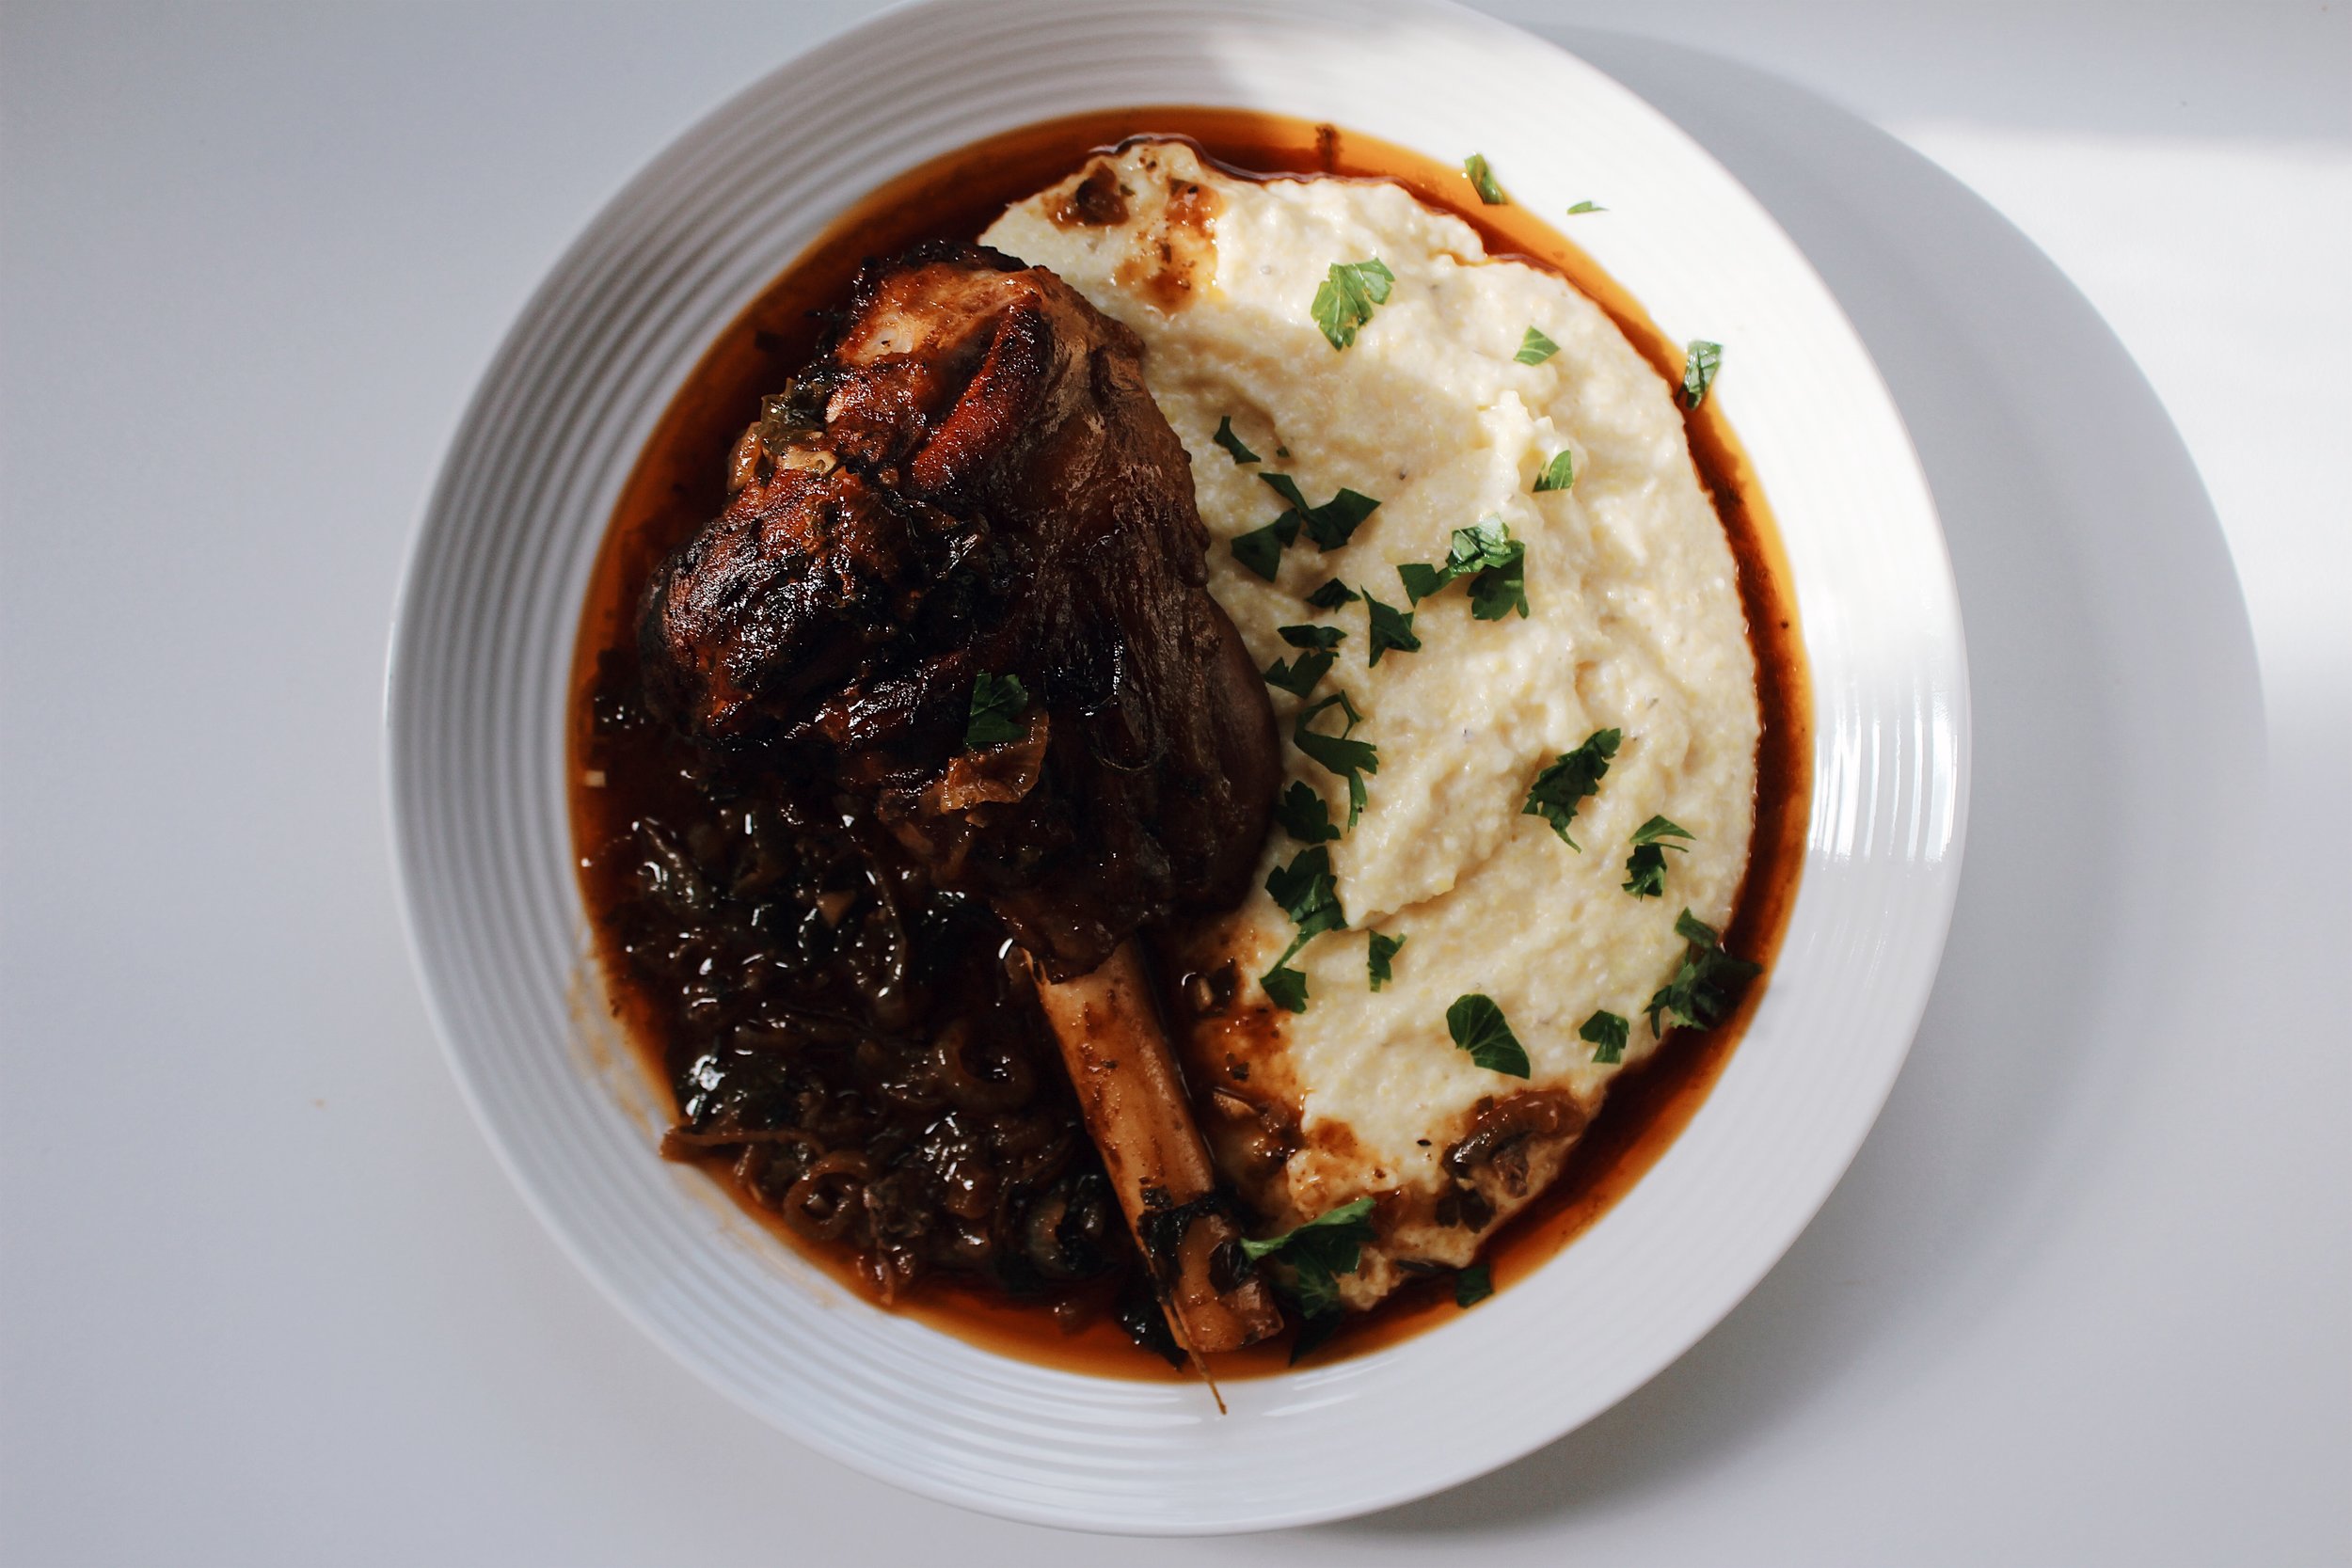
One of my ultimate favorite comfort foods are these beautiful Lamb Shanks. I think visually they seem a little daunting to people; however, this recipe is easy, foolproof and can make any beginner cook look like a master chef! 

The lamb shanks are rubbed with spices, and cooked in wine (oh yes), and served alongside creamy polenta.

The polenta is simmered to ensure a beautiful creamy and thick consistency that will absorb the sauce from the lamb.

If polenta is not your thing, egg noodles go exceptionally well with this dish!

Happy Weekend and Happy Cooking!

LAMBSHANKS9.jpeg
LAMBSHANKS8.jpeg
LAMBSHANKS6.jpeg
lamb shankJPEG image-017779432289-1.jpeg
lamb shankJPEG image-017779432289-5.jpeg
lamb shankJPEG image-017779432289-3.jpeg
lamb shankJPEG image-017779432289-2.jpeg
lamb shankJPEG image-017779432289-4.jpeg

Ingredients

Lamb Shanks

  • 3 medium lamb shanks

  • 4 medium onions, sliced

  • 6 garlic cloves

  • 4 tbsp of tomato paste

  • 3 tbsp of paprika

  • 1 bunch of parsley, coarsely chopped

  • 8 tbsp of butter, cut in small pieces

  • 1/4 cup of olive oil

  • 2 cups  white wine

  • ½ cup water + 2 tbsp

  • 3 tbsp of coarse salt & pepper

  • 3 bay leaves

Polenta

  • Kosher salt

  • 6 cups water

  • 1½ cups coarse polenta ( I used Bob’s Red Mills)

  • ¼ cup unsalted butter

  • ½ cup grated Parmesan, plus more for serving

  • Freshly ground black pepper

  • ½ cup chopped fresh parsley

Recipe

Lamb Shanks

  1. Set the oven to 425 F

  2. In a mortar, grind garlic, parsley and salt into a paste. Mix in the paprika, pepper, tomato paste,  2 tbsp of water and olive oil.

  3. Rub the shanks with the mixture.

  4. Place the seasoned meat in a large roasting pan, top with sliced onions, bay leaves and butter.

  5. Pour in the wine and the rest of the water (½ cup) around the meat.

  6. Roast for 1 ½ hour , basting every half hour .

  7. Serve with Polenta.

Polenta

  1. In a large saucepan, bring 6 cups of salted water to a boil.

  2. Reduce heat to medium-low, whisking constantly, add in the polenta.

  3. Cook, and whisk often  until polenta is thick and smooth, 20–25 minutes.

  4. Season with salt and pepper. Add butter and ½ cup Parmesan to polenta and whisk until melted and incorporated.

  5. Serve warm, top with extra Parmesan.

Fresh Pasta Dough

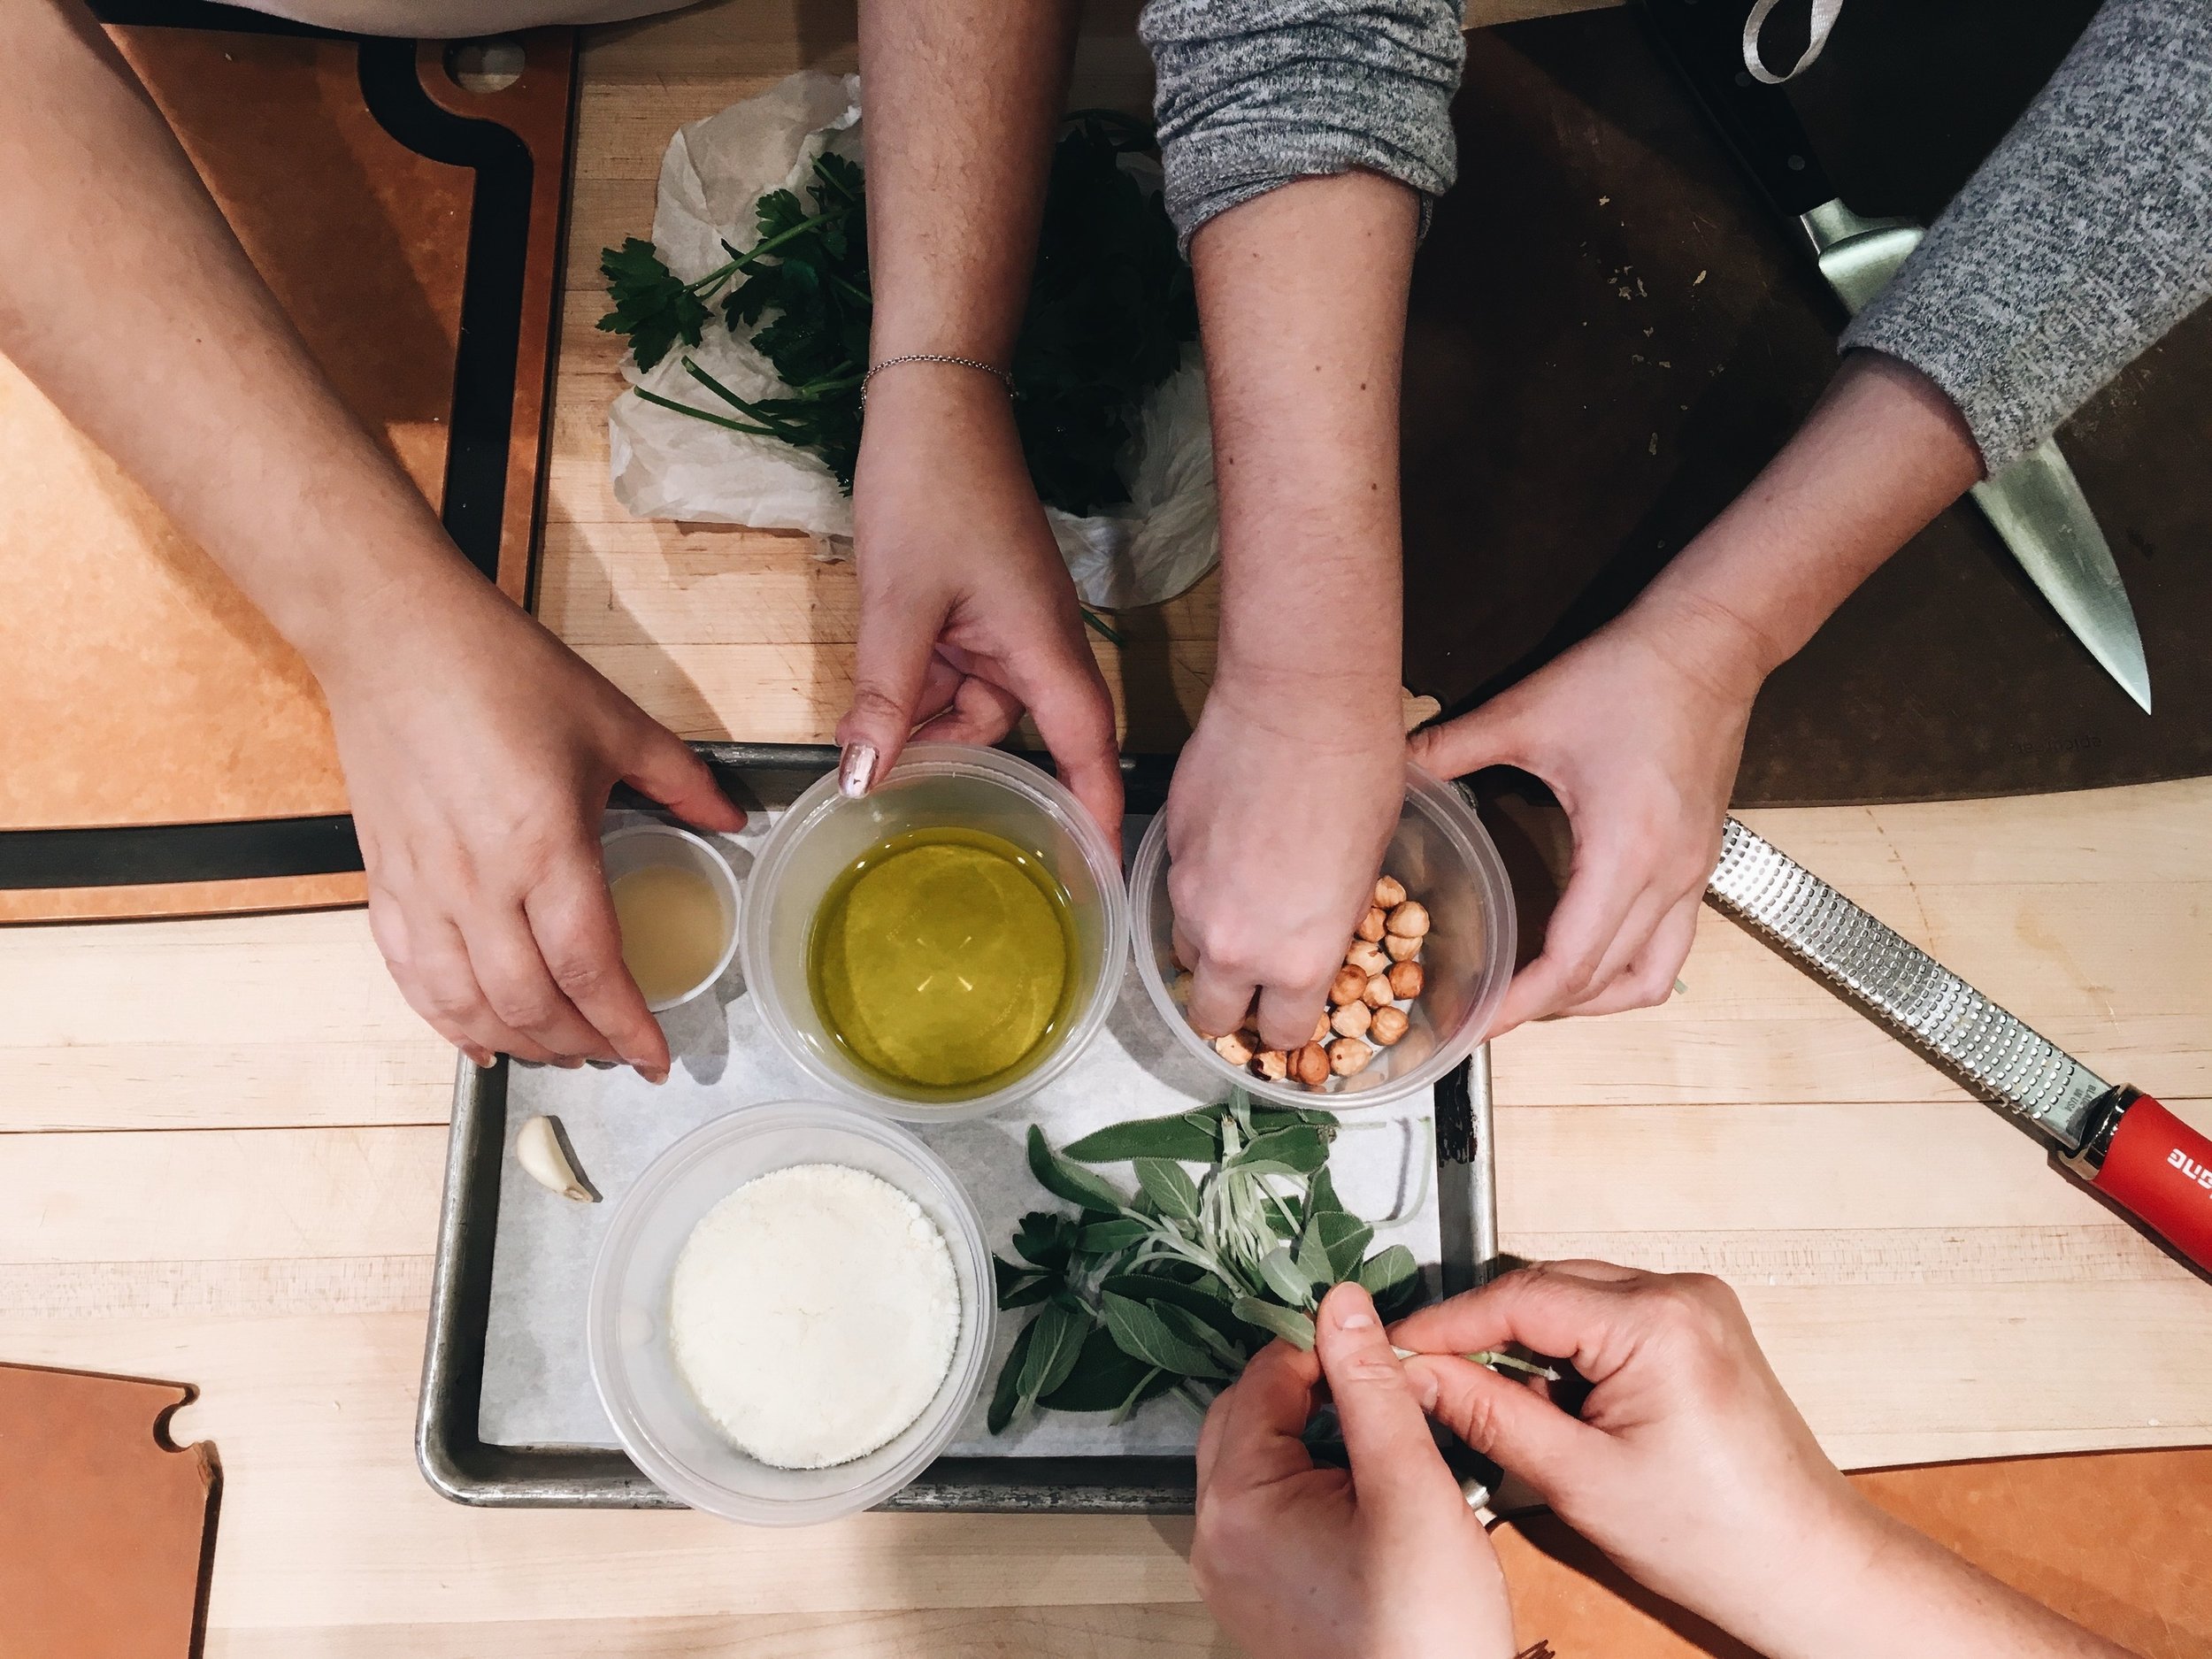
My mom and I along the years have acquired a lot of pasta equipment, from attachments for our Cuisinart, ravioli molds, to manual pasta machines, so it was about time we learned how to make fresh pasta!

So, two years ago, my mom and I ventured into the unknown and took a pasta making class at Sur La Table in NYC.

Homemade pasta is something that you usually watch chefs make on TV or eat it at an Italian restaurant. It's one of those dishes that home cooks, I think, stray away from, because of how much work and skill we think it requires making.

Reading the recipe on its own may seem overwhelming, but going through step by step with an instructor explaining why and how this works, really took my worries away.

The best thing I’ve learned is to BE PATIENT! Read the recipe, reread it, prep and go through each step with calm and confidence.

During the class, we both were shocked on how simple and easy it really was to make fresh pasta and were so excited to finally put all our tools into good use!

We have made this pasta recipe for many occasions since then, and every time it came out with great success!

Soon I will be posting a few more daring pasta recipes, maybe even a few colored ones!

mom & me making pasta
3AA2CF83-6B8D-416D-A805-0CC7D32712C5.JPG
FRESH PASTA3
FRESH PASTA 2
 
FRESH PASTA
 

Ingredients

  • 2½ cups (12½ ounces) "00" flour, plus more for dusting

  • 1 teaspoon kosher salt

  • 4 large eggs

  • 1 tablespoon extra-virgin olive oil

Recipe

  1. Fresh pasta dough is so easy to make, you’ll wonder why you never did before. If you can find Italian "00" flour, use it to make very delicate, yet chewy pasta. If not, bread flour works really well.

  2. To make dough: Place flour and salt in a large mixing bowl and whisk to combine. Make a "well" in the center of the flour mixture and add eggs and oil. Using your fingers, blend the eggs into the flour mixture, stirring the flour in from the sides of the well and working outwards. When the pasta dough is thoroughly mixed, turn it out on a lightly floured work surface. Knead dough until it is smooth and flexible but not sticky, adding small amounts of flour as needed; about 5 minutes. Shape the dough into a ball and flatten into a disk. Cover with plastic wrap and allow to rest for at least 20 minutes or up to an hour at room temperature.

  3. To roll dough: Secure a pasta machine to the edge of a long countertop. Using a bench scraper, cut the dough into three pieces. Keep extra dough covered in plastic wrap while working with one piece. With a rolling pin, roll the piece of dough into a rough rectangle so that it will fit inside the widest setting of the pasta machine. Roll the dough through the machine, catching it with one hand as you roll with the other. Take the dough and trifold it like a letter. Turn the dough so one open end faces the machine and roll it through on the widest setting again. Fold, turn, and roll once more on the widest setting.

  4. Continue rolling the pasta through the machine without folding, adjusting the rollers to a smaller setting each time, until the desired thickness is reached. If the pasta sheet becomes too large to handle, use a bench scraper to cut it into more manageable lengths and continue rolling.

  5. Cut sheets to desired shapes and sizes, toss with semolina flour and set aside covered with a clean kitchen towel. The pasta can be cooked immediately or covered with plastic wrap and refrigerated for up to 24 hours before use.

  6. To cook pasta: Heat a large pot of water over high heat until boiling. Generously season water with salt. Add pasta and stir immediately to prevent the strands from sticking together. Boil until al dente, 2 to 3 minutes. Reserve about a cup of pasta water and drain pasta through a colander. Toss hot pasta with your sauce of choice, using reserved pasta water to thin the mixture and coat the pasta as needed. Garnish as desired and serve immediately.

    Recipe taken from Sur La Table’s Cooking Classes